
Table of Contents
The magnet slid an inch, hung there for a second, then dropped straight into the sink. That was attempt number two — twenty minutes into what I’d promised myself would be a “quick Saturday project.” My bathroom mirror is the classic apartment special: a giant sheet of frameless glass clipped straight to the drywall, the kind that makes every rental bathroom look like a gym locker room. I wanted a framed look without drilling into the glass, the wall, or my security deposit. So I spent three weekends testing every DIY magnetic bathroom mirror frame method I could find.
Some fell off. One left a faint haze on the glass. I’m still annoyed about it. But one method held through two months of steamy showers and a slammed door—and that’s the one I’m walking you through here, mistakes included, so you can skip them entirely.
⚡ The Short Version: A DIY magnetic bathroom mirror frame works by gluing strong neodymium magnets to the back of lightweight PVC or wood trim, then letting those magnets grip a thin magnetic sheeting or metal strip adhered flush to the mirror’s edge—no drilling into the glass or wall required. The whole setup runs $25–$60 depending on mirror size, takes about 2–3 hours, and is fully removable at move-out with zero residue on the glass when done correctly.
What Is a Magnetic Mirror Frame—And Why Renters Care
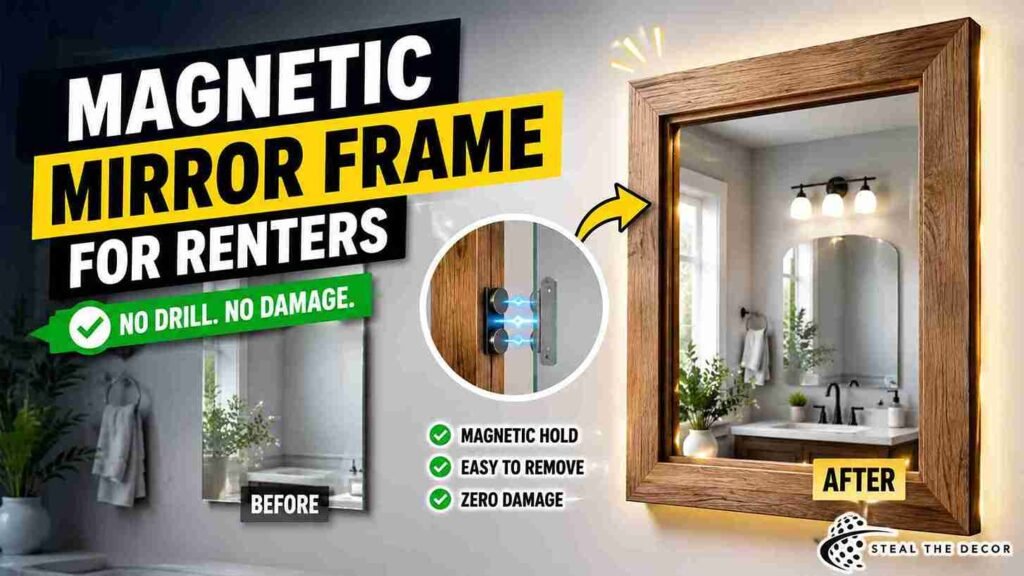
A magnetic mirror frame is a decorative trim piece — usually wood molding or lightweight PVC casing — that attaches to a frameless bathroom mirror using magnetic force instead of screws, nails, or permanent glue. Neodymium magnets, sometimes called rare-earth magnets, get glued to the back of the trim, and a matching thin metal or magnetic strip goes on the mirror’s edge. The two pieces snap together and hold the frame flush against the glass.
For renters, that’s the whole appeal. You get a designer-looking upgrade over a bare, builder-grade mirror without a single hole drilled—and it comes off cleanly on move-out day.
Bottom line: it’s the only mirror-framing method I’ve found that’s fully reversible on both the glass and the wall.
Does a Magnetic Mirror Frame Actually Work in a Rental? (Skeptic Check)
Yes — but only under specific conditions, and I learned that the hard way. It works reliably if your mirror is a solid, flat sheet of glass (not a mirrored composite panel) and if you use magnets rated for at least double the weight of your trim. It does not work well if your molding is thick, heavy hardwood—the magnets I tested couldn’t hold more than about 3 ounces per linear foot before sagging.
My first attempt used a magnet rated for 1 pound on a frame section that weighed almost 2 pounds once the wood glue dried. It slid. Then it dropped. Not exactly the confidence boost I was hoping for on day one. Switching to magnets rated for 4–5 pounds of pull force per pair fixed the problem completely.
Bottom line: match your magnet strength to your trim weight, not the other way around—that one swap is what made this project actually rental-safe.
Choosing the Right Magnets for a Bathroom Mirror + 5 Best Framing Methods
Not all magnets are created equal, and this is where most tutorials online get vague. I tested five different approaches over three weekends. Here’s what actually happened with each one.
- Adhesive-backed neodymium disc magnets (like DIYMAG Neodymium Disc Magnets, around $12–$16 for a 20-pack) — these were the easiest to work with. I placed them every 6 inches along the back of the trim and pressed a matching magnetic tape strip onto the mirror’s edge. This is the method that held.
- Magnetic sheeting rolls (like flexible magnetic tape by MFLABEL, roughly $9–$14) applied directly to the mirror edge—good for thin trims but weak on their own for anything heavier than lightweight PVC.
- Glue-in magnets embedded into routed wood channels look the cleanest but require a router, which most renters don’t own. I’d skip this one unless you already have the tool.
- Command Strips as the sole hold—I tried this out of curiosity. Honestly? I didn’t think it would fail this fast. It gave out within four days in the humid bathroom; the adhesive weakened from steam exposure.
- Double-sided magnetic hook-and-loop tape (like VELCRO® Brand Industrial Strength, $8–$12) — surprisingly solid for very light trim, but not strong enough for anything wider than a half-inch molding.
And here’s the part most tutorials skip entirely: for most bathroom mirrors, method #1 — disc magnets paired with a magnetic strip on the glass — gave the best combination of hold strength, price, and easy removal. If you want a closer look at other no-drill framing angles, this pairs well with the approach in my guide to hanging mirrors without drilling, which covers a similar magnet-and-strip logic for wall-mounted pieces.
Bottom line: skip anything rated under 3 pounds of pull force per magnet — it’s not a matter of if it falls, just when.
💡 Pro Tips for Renters:
- Wipe the mirror edge with rubbing alcohol before applying the magnetic strip—bathroom mirrors collect a thin film of hairspray and soap residue that weakens adhesive bonds.
- Buy 20% more magnets than you think you need. Corners require double coverage, and I underestimated this on my first attempt.
- Seal the wood trim with a clear moisture-resistant finish before installing magnets—bathroom humidity warps unsealed wood within weeks.
- Test magnet placement with painter’s tape first — hold the trim up, mark magnet spots, then commit. This saved me from misaligned holes in my second attempt.
- Round your miter corners slightly—sharp 90-degree corners in a humid bathroom are the first place trim starts to bow away from the magnetic strip.
Materials Needed for a Damage-Free Mirror Frame
- Lightweight PVC trim or basswood molding (enough to wrap your mirror’s perimeter, plus 10% extra for mis-cuts)
- Neodymium disc magnets, rated 4–5 lbs pull force minimum (one every 6 inches)
- Magnetic adhesive tape strip for the mirror edge
- Wood glue or E6000 adhesive to secure magnets to the trim
- Miter box and handsaw (or a miter saw if you have access to one)
- Measuring tape and pencil
- Fine-grit sandpaper
- Clear moisture-resistant sealant or spray paint in your chosen finish
- Rubbing alcohol and a lint-free cloth (for cleaning the mirror edge)
Total materials for a standard 30″ x 40″ bathroom mirror ran me $34.72. I’ll break that all the way down below.
Measuring and Cutting the Wood Molding
Measure each side of your mirror at the glass edge, not the wall opening—the frame sits directly on the mirror rather than around it. Add roughly an eighth of an inch of clearance per side so the trim isn’t fighting the mirror’s exact dimensions. Use a miter box to cut 45-degree angles at each corner.
This is the step I rushed the first time. My corners had visible gaps because I eyeballed the angle instead of locking the saw into the miter box guide. Not my finest moment. Dry-fit every piece against the mirror before gluing or sealing anything—if a corner doesn’t sit flush, it’s much easier to recut now than after the magnets are attached.
Bottom line: dry-fit twice, cut once. A rushed miter cut is the single most common reason these frames look crooked.
Step-by-Step Magnetic Mirror Frame Tutorial: Installation and Removal Process
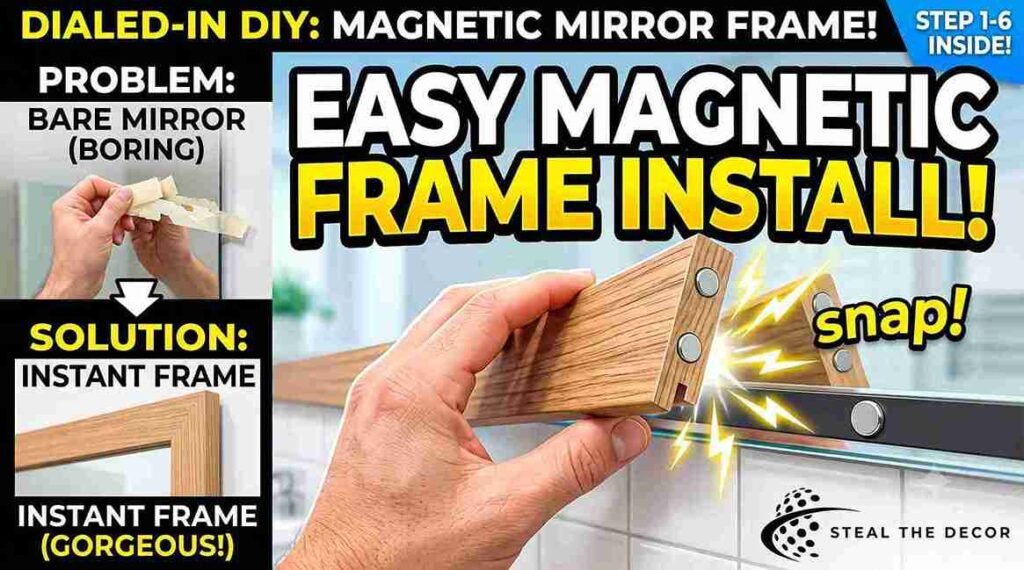
Step 1: Clean and measure the mirror edge. Wipe the entire perimeter of the mirror with rubbing alcohol to remove oils and residue. Measure and mark where each magnetic strip section will sit, spacing marks every 6 inches. Skipping the cleaning step is the #1 reason adhesive strips fail early.
Step 2: Apply the magnetic strip to the mirror. Peel and press the magnetic adhesive tape along the marked edge, working in small sections and pressing firmly for 30 seconds per segment. Avoid stretching the tape as you apply it—that weakens the bond.
Step 3: Attach magnets to the trim. Using wood glue or E6000, glue a neodymium disc magnet to the back of the trim at each 6-inch mark, aligning it to face the corresponding strip position on the mirror. Let the glue cure fully—usually 12–24 hours—before moving to installation. This is the step I rushed on my first attempt. It’s exactly why the panel slid.
Step 4: Seal and finish the trim. Once the magnets are fully cured, sand any rough edges and apply a clear moisture-resistant sealant or your chosen paint finish. Let it dry completely—bathroom humidity will show every shortcut here.
Step 5: Install the frame. Starting with the top piece, align the magnets over the strip and press gently until you feel the magnetic pull lock the piece flush against the mirror. Repeat for each side, checking that corners meet cleanly.
Step 6: Remove at move-out (or anytime). Gently pull each trim piece straight away from the mirror—never twist or pry, which can crack the magnetic strip’s adhesive layer and leave residue. Peel the magnetic strip off slowly, using a hairdryer on low heat if any adhesive resists.
Common Mistakes Renters Make With Magnetic Mirror Frames
Using magnets that are too weak for the trim weight. This was my very first mistake, and it’s the most common one I see mentioned in comment sections, too. Always check the pull-force rating against your actual trim weight—not an estimate.
Skipping the alcohol wipe before applying adhesive. Bathroom mirrors accumulate hairspray film that most people can’t even see. Skip this step, and your magnetic strip loses grip within a week.
Gluing magnets before the trim is sealed. If you seal the wood after gluing magnets, sealant can seep under the magnet edge and weaken the bond. Seal first. Glue magnets second.
Rushing the miter cuts. Uneven corners are the most visible flaw in a finished frame, and they’re almost always caused by skipping the dry-fit step.
Ignoring humidity exposure. Unsealed wood trim in a bathroom warps within a few weeks of regular shower steam, pulling the magnets away from true alignment.
Twisting instead of pulling straight during removal. Twisting stresses the adhesive strip unevenly and is the main cause of leftover residue on the glass.
Renter-Safe Magnetic Frame Products We Actually Recommend
| Product / Method | Price Range | Ease of Use (1–5) | Damage Risk | Best For | Our Rating |
| DIYMAG Neodymium Disc Magnets | $12–$16 | ⭐⭐⭐⭐⭐ | ✅ None | Standard PVC or basswood trim | 5/5 |
| MFLABEL Flexible Magnetic Tape | $9–$14 | ⭐⭐⭐⭐ | ✅ None | Lightweight, thin trim only | 4/5 |
| VELCRO Brand Industrial Strength Magnetic Tape | $8–$12 | ⭐⭐⭐⭐ | ✅ None | Very light half-inch molding | 3/5 |
| Command Outdoor Strips (mirror edge only) | $6–$10 | ⭐⭐⭐ | ⚠️ Minor residue in humid rooms | Short-term or dry-climate use | 2/5 |
| Router-set embedded magnets | $15–$25 (plus tool cost) | ⭐⭐ | ✅ None | Renters who already own a router | 3/5 |
Bottom line: the disc-magnet-plus-strip combo won every category except raw simplicity — and even there it was a close second.
What to Check With Your Landlord Before You Start
- Confirm the mirror is original to the unit and not something a previous tenant left behind (this affects whether you can modify it at all)
- Check your lease for any clause specifically addressing “alterations” to fixtures versus decor
- Ask whether magnetic adhesive strips count as “wall coverings” under your lease—most don’t, but it varies
- Take dated photos of the bare mirror before starting, and again after removal at move-out
- Confirm your bathroom has adequate ventilation — humidity affects both the wood trim and adhesive longevity
- If your unit has a homeowners’ association or property management company beyond your direct landlord, check their alteration policy too
- When in doubt, a quick written confirmation over email from your landlord protects you far more than a verbal “sure, that’s fine”
For lease-specific language, it’s worth cross-referencing your local tenant rights resource before making any changes—even reversible ones.
Real Results: What I Got for $34.72
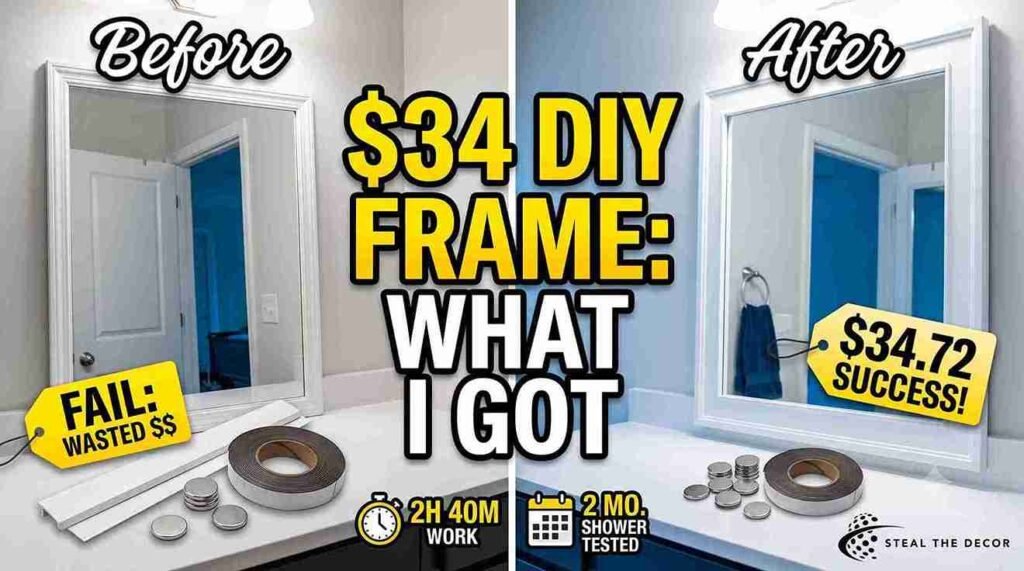
Here’s the full breakdown from my second—successful—attempt: PVC trim, $11.40; neodymium disc magnets, $14.20 for a 20-pack (used 16); magnetic adhesive strip, $9.12 for a 10-foot roll (used about 7 feet). I already had wood glue and sandpaper on hand, so those didn’t factor into the total.
All in: $34.72. About 2 hours and 40 minutes of actual work spread across two evenings, most of it just waiting on glue to cure. The frame has now survived two months of daily hot showers, one slammed door, and a curious cat jumping on the counter. No shifting. No residue. No drama.
My first attempt, by comparison, cost me $19 in wasted magnets and a Saturday afternoon I’d like back.
FAQ: Magnetic Bathroom Mirror Frames for Renters
What is a DIY magnetic mirror frame?
A DIY magnetic mirror frame is decorative trim attached to a frameless mirror using neodymium magnets glued to the trim’s back, paired with a magnetic strip on the mirror’s edge—no drilling into glass or wall required.
How do you frame a bathroom mirror with magnets?
Clean the mirror edge, apply a magnetic adhesive strip around the perimeter, glue matching neodymium magnets to the back of your cut trim pieces, let the glue cure, then press the trim into place so the magnets lock onto the strip.
Is a magnetic mirror frame safe for rentals?
Yes, when done correctly. The magnets and adhesive strip attach only to the mirror’s edge, not the wall or glass surface itself, and both pull away cleanly without drilling or permanent adhesive residue.
Does it leave residue on the mirror or wall?
No, as long as you use a quality magnetic adhesive strip and remove it by peeling slowly rather than twisting. Low-quality adhesive strips left on too long in high humidity can leave minor residue.
How much does a DIY magnetic mirror frame cost?
Most standard bathroom mirrors cost between $25 and $60 to frame this way, depending on trim material and mirror size. My own build for a 30″ x 40″ mirror came to $34.72.
What’s the best magnet brand for this project?
DIYMAG neodymium disc magnets performed best in testing, holding steady through two months of daily bathroom humidity without shifting or losing grip strength.
What do I do if the frame falls off?
Check the magnet pull-force rating against your trim’s actual weight first—this is the most common cause. If the rating is sufficient, re-clean the mirror edge with rubbing alcohol, as residue buildup is the second-most common culprit.
🔑 Key Takeaways
- A DIY magnetic bathroom mirror frame uses neodymium disc magnets rated at 4–5 pounds of pull force glued to lightweight PVC or basswood trim, paired with a magnetic adhesive strip on the mirror’s edge.
- The full project costs between $25 and $60 for a standard bathroom mirror and takes roughly 2 to 3 hours of active work.
- DIYMAG Neodymium Disc Magnets, combined with a flexible magnetic adhesive tape strip, performed best in direct testing for cost, hold strength, and ease of removal.
- Magnets rated under 3 pounds of pull force per pair are the leading cause of frame failure on trim heavier than lightweight PVC.
- Wiping the mirror edge with rubbing alcohol before applying adhesive significantly extends the strip’s hold in humid bathroom conditions.
- The frame is fully removable at move-out by pulling each piece straight away from the mirror, leaving no residue on the glass when installed correctly.
- Sealing wood trim with a moisture-resistant finish before gluing on magnets prevents warping from bathroom steam exposure over time.
Conclusion
Two months in, the frame is still holding; my landlord has no idea anything changed, and my bathroom finally looks like it belongs to an adult instead of a dorm room. If you take one thing from all this trial and error, let it be the magnet strength—everything else is forgiving, but an underpowered magnet will always find its way to your sink eventually.
Have you tried framing a rental mirror this way? Tell me what happened below—I read every comment. And if this project has you eyeing the rest of your bathroom, my guide to a rental kitchen makeover on a budget walks through a similar no-damage approach for the next room over. All the products I tested and recommend are linked below — I’ve tried every single one myself.