
My landlord painted every wall in my apartment the same shade of off-white. Not cream. Not eggshell. Just flat, sad, builder-beige that made the whole place feel like a waiting room at a DMV. I stared at those walls for three months before I finally did something about them. That something was peel-and-stick wallpaper — and it completely changed how I feel about coming home.
If you rent and you’ve been considering removable wallpaper, this guide is for you. I’ve made the mistakes, so you don’t have to. I’ve done three full walls across two apartments, botched one of them badly, and learned a lot in between. Let’s get into it.
What Is Peel-and-Stick Wallpaper, Exactly?
Peel-and-stick wallpaper is a self-adhesive wall covering designed to go up without paste, primers, or professional installation — and come down cleanly without damaging the paint underneath. It’s also called removable wallpaper, temporary wallpaper, or apartment-safe wallpaper. All the same thing.
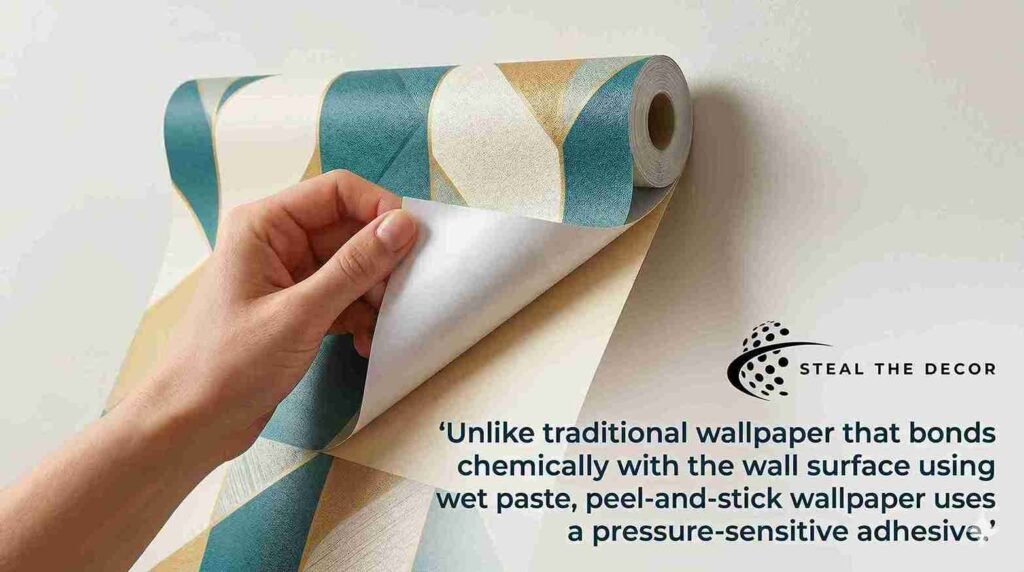
Unlike traditional wallpaper that bonds chemically with the wall surface using wet paste, peel-and-stick wallpaper uses a pressure-sensitive adhesive. You press it on, and it holds. You pull it off slowly, and it releases. The wall looks exactly like it did before. That’s the whole idea — and when it works, it genuinely works.
According to the U.S. Census Bureau, roughly 45.3 million American households were renter-occupied in 2024. That’s a huge number of people stuck decorating around lease restrictions. Removable wallpaper exists almost entirely for this situation.
Is Peel-and-Stick Wallpaper Actually Safe for Rental Walls?
Yes — with one important caveat. Quality matters more than anything else here.
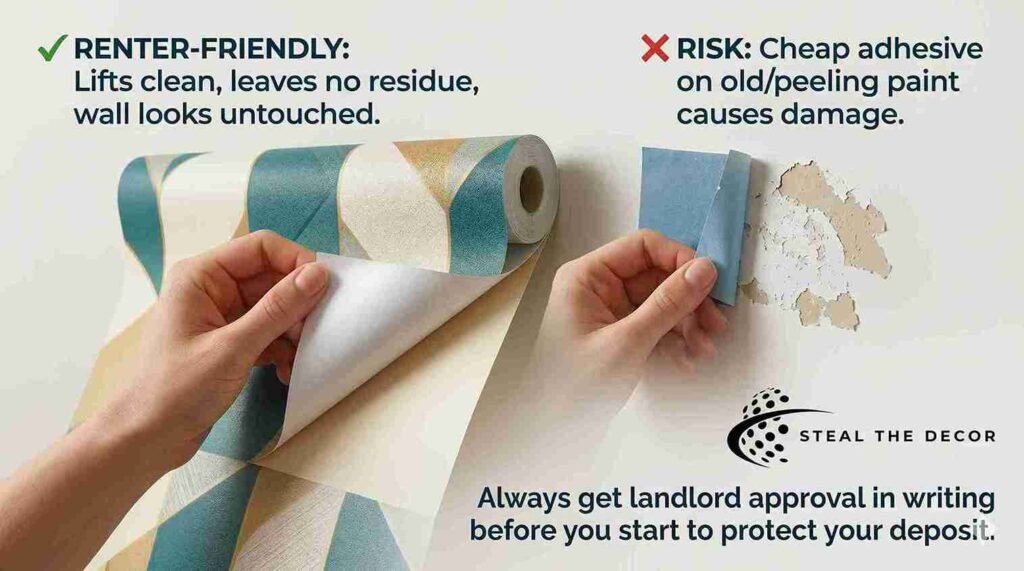
High-quality peel-and-stick uses a pressure-sensitive adhesive that doesn’t chemically bond to or absorb into the paint layer. When removed at a slow, controlled angle, it lifts off clean. No residue. No chipping. The wall looks untouched. This is what makes it renter-friendly wallpaper in the truest sense.
The caveat? Cheap adhesive on old paint is a nightmare. If your rental has walls with flaking paint, a flat latex finish that’s three coats deep, or paint that’s less than 30 days old, you’re in risky territory. The wallpaper itself may be fine, but the wall surface isn’t ready for it. More on that in the prep section.
Always get landlord approval in writing before you start. Even the best temporary wallpaper technically counts as an alteration in some leases. A quick email saying “I’m planning to use removable peel-and-stick wallpaper — it leaves no damage and I’ll remove it before move-out” takes two minutes and protects your security deposit.
Wall Prep: The Step Most Renters Skip (And Regret)
This is where I made my big mistake the first time around.
I skipped wall prep entirely. I figured — it’s removable wallpaper, it’s supposed to be easy, just peel and stick, right? Wrong. My bedroom accent wall developed bubbles within a week, and two panels started peeling at the top corners within a month. The problem wasn’t the wallpaper. It was my walls. They had a very slight texture and some old dust near the baseboard that I hadn’t wiped down. That’s all it took.
Here’s the correct wall prep process, short and simple:
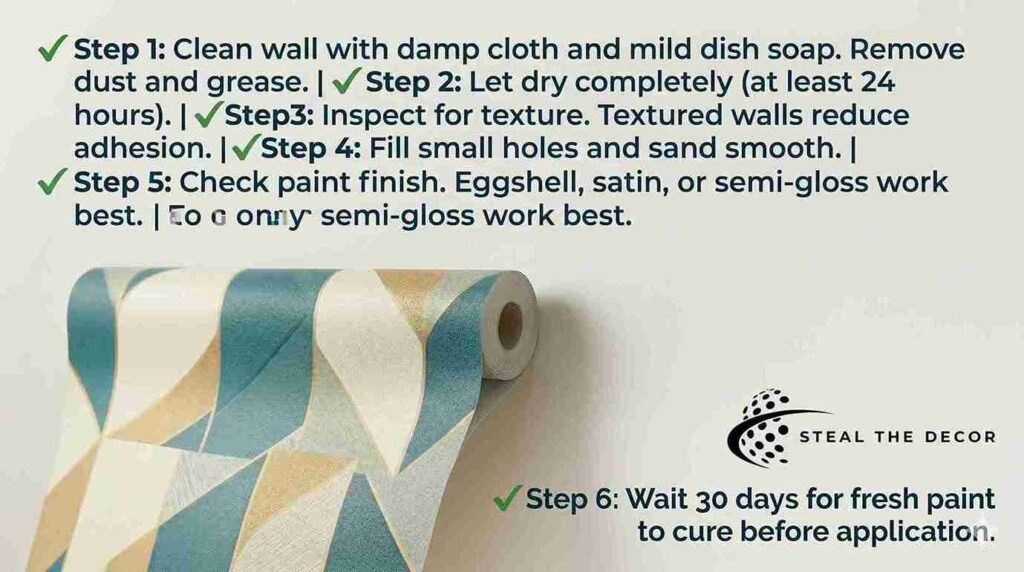
- Clean the wall with a damp cloth and mild dish soap. Remove all dust, grease, and scuffs.
- Let it dry completely — at least 24 hours. Moisture under the adhesive causes bubbles.
- Inspect for texture. Lightly textured walls reduce adhesion. Very textured or brick walls don’t work at all.
- Fill small holes with spackling paste and sand smooth. Don’t leave bumps under your panels.
- Check your paint finish. Flat or matte paint is the trickiest. Eggshell and satin finishes grip better. Semi-gloss is actually great.
- Wait for the newly painted walls. Fresh paint needs at least 30 days to cure before you apply anything adhesive.
That’s it. Twenty minutes of prep saves you hours of frustration — and potentially your security deposit.
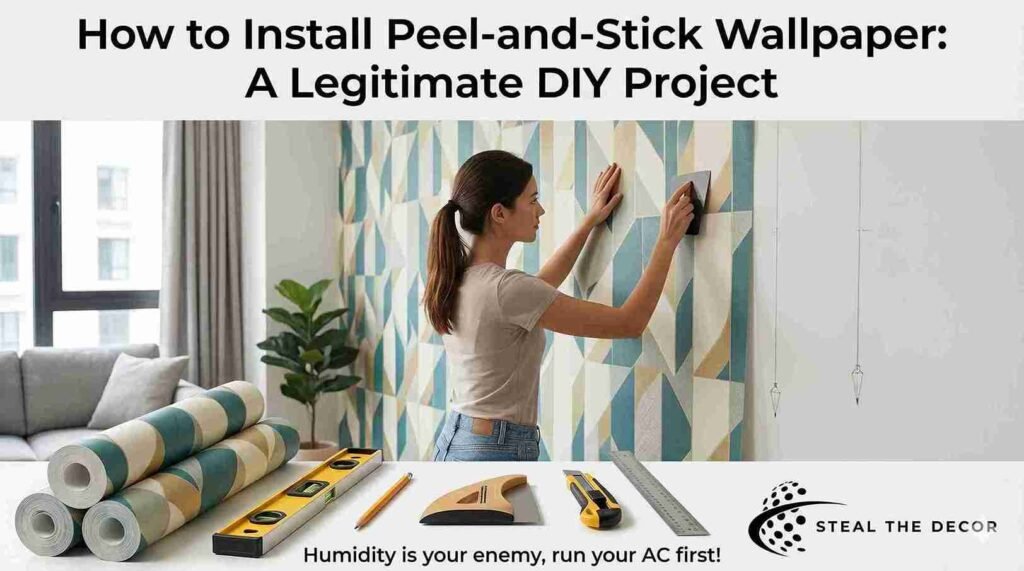
How to Install Peel-and-Stick Wallpaper Step by Step
Installing removable wallpaper is a legitimate DIY project. You don’t need special tools or professional help. Most people finish a single accent wall in under two hours, even on their first try.
What You’ll Need
- Your wallpaper rolls
- A level or laser level
- A pencil
- A smoothing tool or a clean credit card
- Scissors or a utility knife
- A straight edge or ruler
Step-by-Step Installation
Step 1: Measure and calculate.
Measure your wall’s height and width. Divide the width by the panel width (usually 20.5 inches) to get the number of panels. Add 10–15% extra for pattern matching and trimming mistakes. Buy more than you think you need — you’ll thank yourself later.
Step 2: Mark a vertical plumb line.
Don’t trust the corner of your apartment wall. Rental walls are rarely perfectly straight. Use a level to draw a faint pencil line from ceiling to floor as your starting guide.
Step 3: Start at a corner, work outward.
Peel about 12 inches of backing from the top. Align the top edge with the ceiling line, press firmly, then slowly peel the remaining backing while smoothing downward. Work from the center of the panel outward to push any air bubbles toward the edges.
Step 4: Smooth as you go.
Use your smoothing tool or a clean card to press out bubbles immediately. Don’t wait until the whole panel is up — small bubbles that set overnight can be stubborn.
Step 5: Trim the excess.
Use a straight edge and utility knife to trim along the ceiling, baseboard, and corners for a clean finish.
Step 6: Overlap seams slightly.
Butt your panels edge-to-edge, but if you’re getting visible gaps, a tiny 1/8-inch overlap is better than a seam crack.
One thing competitors don’t mention: humidity is your enemy during installation. Don’t apply on a damp, rainy day with the windows open. Dry air = better adhesion. If you’re in a humid climate like Houston or Miami, run your AC for a few hours before you start. That small step alone can prevent bubbling and weak adhesion from day one. Also, natural light helps. Install during daylight so you can clearly see bubbles, crooked lines, and mismatched seams as you work.

Choosing the Right Peel-and-Stick Wallpaper Brand
Not all removable wallpaper is the same quality. The price difference between a $20 roll and a $65 roll is real — and it shows up in the adhesive, the print quality, and how clean the removal is. Here’s an honest breakdown:
| Brand | Price Per Roll | Where to Buy | Best For | Downside |
| RoomMates | ~$23–$30 | Walmart, Target, Amazon | Budget-friendly accent walls | The adhesive is inconsistent on smooth walls |
| NuWallpaper | ~$30 | Amazon, Home Depot | Wide selection, decent quality | Pattern matching can be tricky |
| Tempaper | ~$45–$96 | tempaper.com, Amazon | Premium quality, clean removal | More expensive per roll |
| Threshold (Target) | ~$34 | Target only | Mid-range, solid performance | Limited patterns |
| Rifle Paper Co. | ~$65 | riflepaperco.com | Beautiful art prints | Pricey for larger walls |
| Serena & Lily | ~$98 | serenaandlily.com | Designer look | Very expensive |
I used the NuWallpaper Shiplap Peel and Stick — around $29 a roll at Amazon for my living room accent wall. It looked genuinely good. Pattern matching was slightly annoying on the third panel, but nothing terrible. Removal two years later was mostly clean — except one small corner where I’d applied it before the wall was fully dry. It’s totally my fault.
For a first-timer on a budget, Target’s Threshold line at $34 a roll is a solid middle ground. Not the cheapest, not the most premium, but it holds well and comes off clean. Pretty “meh” about the pattern variety though — nothing that made me say “that’s the one.”

The Best Rooms and Surfaces for Temporary Wallpaper
Peel-and-stick wallpaper is more versatile than most people realize. The obvious move is an accent wall in a bedroom or living room. But renters have been using it in some genuinely clever ways.
Rooms That Work Great
- Bedroom accent walls — The classic. One bold wall behind your headboard changes the entire feel of the room.
- Entryways and hallways — Narrow spaces with flat walls are ideal. A small hallway takes 3–4 panels max and looks dramatic.
- Home offices — A textured or patterned wall behind your desk makes video calls look intentional instead of accidental.
- Bathrooms — Yes, bathrooms work — if you use a quality brand and prep the surface well. Humidity is the main challenge, so stick to walls away from the direct spray zone.
Surfaces Beyond Just Walls
This is the part most guides miss. You can use removable wallpaper on:
- Stair risers — A hugely impactful look for very little material
- Inside bookshelves and closets — A quick pop of color behind your books
- Dresser drawers and cabinet fronts — Furniture makeovers without any commitment
- Backsplash-style kitchen accents — Behind open shelving (not near the stove)
The key rule: smooth, flat, clean surface. Anything highly textured, humid, or directly exposed to water is off-limits.
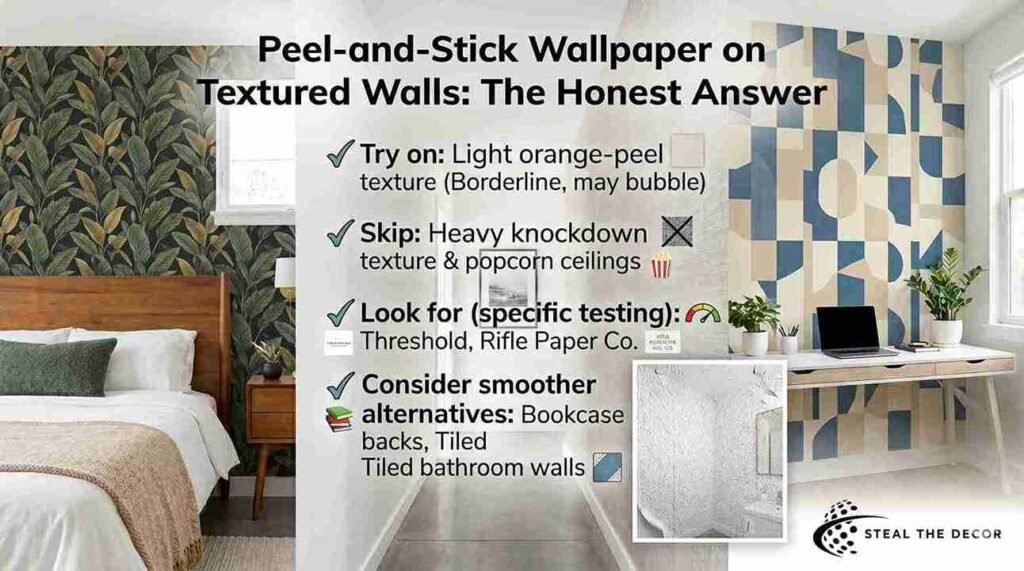
Peel-and-Stick Wallpaper on Textured Walls: The Honest Answer
Here’s the thing nobody wants to say directly: most peel-and-stick wallpaper does not work well on textured walls.
Light orange-peel texture? Borderline. You can try it, but expect the adhesive to lose contact with the raised areas over time, creating bubbles and eventual peeling at the edges. Heavy knockdown texture, skip it entirely. And popcorn ceilings — obviously no.
Some brands market themselves specifically for textured surfaces using a thicker backing or stronger adhesive. In independent testing across multiple brands, results were mixed at best. Of the popular brands tested on textured drywall, only a handful stayed adhered for months without peeling. Threshold and Rifle Paper Co. performed best in long-term adhesion tests on textured surfaces.
If your rental walls have texture and you really want wallpaper, consider using it on smoother surfaces in the same space — like the inside of a bookcase or a bathroom with tiled walls behind it. Work with what you’ve got.
How to Remove Peel-and-Stick Wallpaper Without Damaging Your Walls
Removal is where good preparation pays off — and where panicking ruins everything.
The golden rule: slow down. Peeling fast is the single biggest mistake renters make. Fast peeling rips the adhesive layer unevenly, leaves residue, and in worst cases, pulls paint right off the wall with it. You can lose your deposit on a Tuesday morning trying to rush through a move-out.
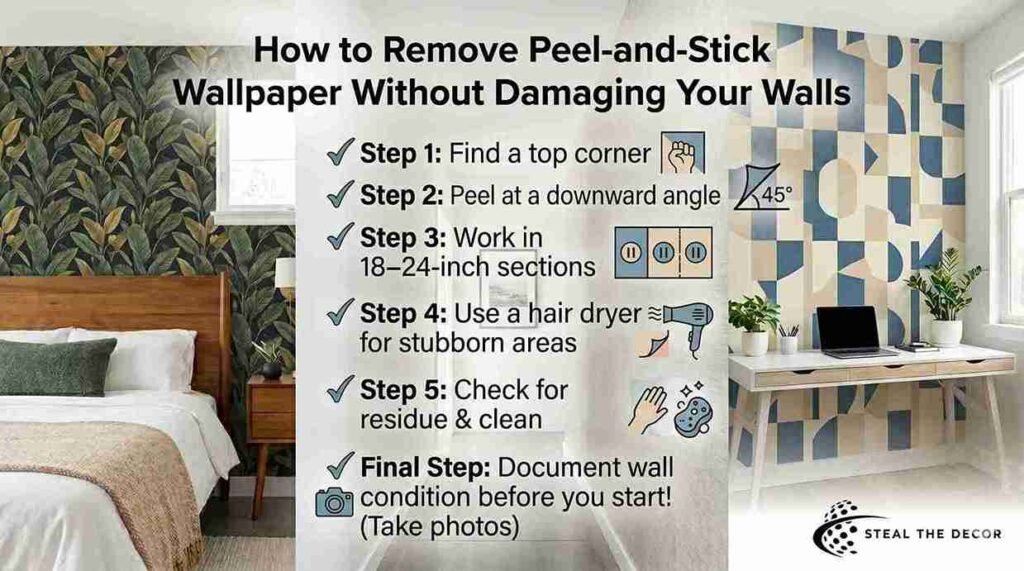
Here’s the correct removal process:
Step 1: Find a top corner. Use your fingernail to gently lift a corner or seam. Don’t use metal tools — a plastic putty knife if needed, but your fingers are gentler.
Step 2: Peel at a downward angle, close to the wall. Pull the panel back toward the wall at roughly 45 degrees — not straight out from the surface. This angle puts less stress on the paint underneath.
Step 3: Work in 18–24-inch sections. Peel what you can, pause, peel more. Take your time.
Step 4: Use a hair dryer if it’s stubborn. Hold it 6 inches from the wall and warm the panel for 15–20 seconds. Heat softens the adhesive and makes removal much easier. This is especially useful if the wallpaper has been up for over a year.
Step 5: Check for residue. After removal, run your hand over the wall. A slight stickiness can usually be wiped away with warm water and mild dish soap. For stubborn spots, a tiny bit of rubbing alcohol on a soft cloth works well.
One thing most removal guides skip: document the wall condition before you start. Take a few photos right when you begin. If there’s pre-existing paint damage that has nothing to do with your wallpaper, you want proof.
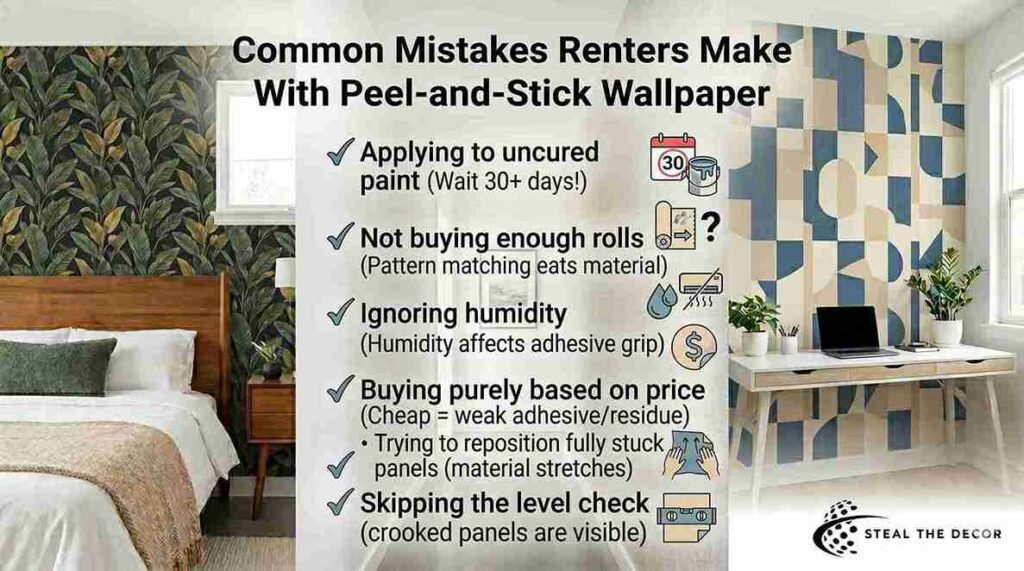
Common Mistakes Renters Make With Peel-and-Stick Wallpaper
I’ve made several of these. Here’s the honest list:
Applying to uncured paint. Fresh paint needs at least 30 days. I did 22 once. Big mistake — pulled a quarter-size patch of paint off when removing.
Not buying enough rolls. Pattern matching eats material fast. Always buy at least one extra roll than your calculation says you need.
Ignoring humidity. Installing on a muggy afternoon with the AC off. The adhesive just didn’t grip the same.
Buying purely based on price. The cheapest options tend to have weaker adhesive, which means either falling off the wall or leaving sticky residue. Neither is good for a rental.
Trying to reposition after it’s fully stuck. You have a short window to adjust a freshly applied panel — maybe 30 seconds. After that, trying to lift and re-stick usually stretches the material.
Skipping the level check. Wallpaper that goes up even slightly crooked is very visible. A $3 level from a Target run saves you from having to redo the whole thing.
Conclusion
My builder-beige walls are long gone. That NuWallpaper shiplap panel in my living room stayed up for two years, looked great, and came off cleanly when I moved out. I got my full deposit back. The landlord never noticed.
Peel-and-stick wallpaper isn’t magic. It has real limitations — textured walls, bad prep, and cheap brands. But when you use it right, it genuinely transforms a rental without touching the lease. Start with one accent wall. Prep your surface. Buy one more roll than you think you need. And go slow during removal.
Have you tried removable wallpaper in your rental yet? I’d love to know which room you tackled first — or which mistake you made, because honestly, those stories are more useful. Drop it in the comments.
About the Author: Ali Ahmad is a renter, DIY enthusiast, and someone who has repainted — or re-wallpapered — every place he’s ever lived within the first three months. He has started four different “home improvement” spreadsheets and finished none of them. He does, however, always finish the accent wall.
Frequently Asked Questions
Does peel-and-stick wallpaper damage rental walls?
High-quality peel-and-stick wallpaper is designed not to damage walls when removed correctly. The pressure-sensitive adhesive bonds to the surface under gentle pressure but doesn’t chemically react with the paint underneath. When you peel it off slowly and at the right angle, it releases cleanly. The main risks are old or flaking paint, walls that weren’t properly prepped, or cheap adhesive that leaves residue. If you use a quality brand, clean and dry your walls first, and remove slowly, your walls should look untouched.
Do I need to ask my landlord before using removable wallpaper?
Technically, yes — and it’s always smart to. Most leases prohibit “alterations” to the property, and some landlords interpret that broadly. The good news: peel-and-stick is a genuinely easy conversation. Most landlords are fine with it once you explain it’s temporary and damage-free. Get any approval in writing — even a simple text or email thread counts. Some landlords are skeptical, but many actually appreciate that it protects the wall underneath from scuffs and marks.
What walls does peel-and-stick wallpaper NOT work on?
It doesn’t work reliably on heavily textured walls (knockdown, skip-trowel, or heavy orange-peel texture). It also won’t adhere properly to surfaces that are dirty, oily, damp, or freshly painted. Brick, concrete, and rough plaster are out. If your wall has chipping or peeling paint, fix that first — the wallpaper will only make existing damage worse.
How long does peel-and-stick wallpaper last in a rental?
With proper installation and a good-quality product, most removable wallpaper holds reliably for two to five years. Some renters have had it up longer. The factors that shorten lifespan: humid rooms without good ventilation, walls that weren’t fully cleaned before application, and rooms with big temperature swings. High-traffic areas where people brush against the wall can cause edge lifting over time.
Can I reuse peel-and-stick wallpaper after removal?
Technically, yes, but practically — not really. The adhesive loses some of its tack during removal, especially if it’s been up for a long time. You might get a second application on a very smooth, clean surface, but it’s not reliable. Better to budget for new rolls if you move.