
Table of Contents
The delivery guy left three flat boxes leaning against my apartment door, and I remember thinking there was no way $60 of particleboard was ever going to look like the built-in library shelving I’d been saving on Pinterest for two years. I live in a 700-square-foot one-bedroom in a building that won’t let me touch the baseboards, drill into the drywall without a work order, or paint a single wall without forfeiting part of my deposit. So the question wasn’t just how to style a cheap IKEA Billy bookcase to look built-in—it was how to do it without any of the tools professional built-in tutorials assume you’re allowed to use.
I bought three Billy units. Tested six different “built-in” techniques over three weekends. Kept a running receipt of every dollar I spent. Two methods failed outright — one of them badly. But one worked so well that a maintenance guy asked which contractor installed my shelving. Here’s exactly what I did, what I’d skip, and a fully rental-safe version for anyone who can’t remove a baseboard.
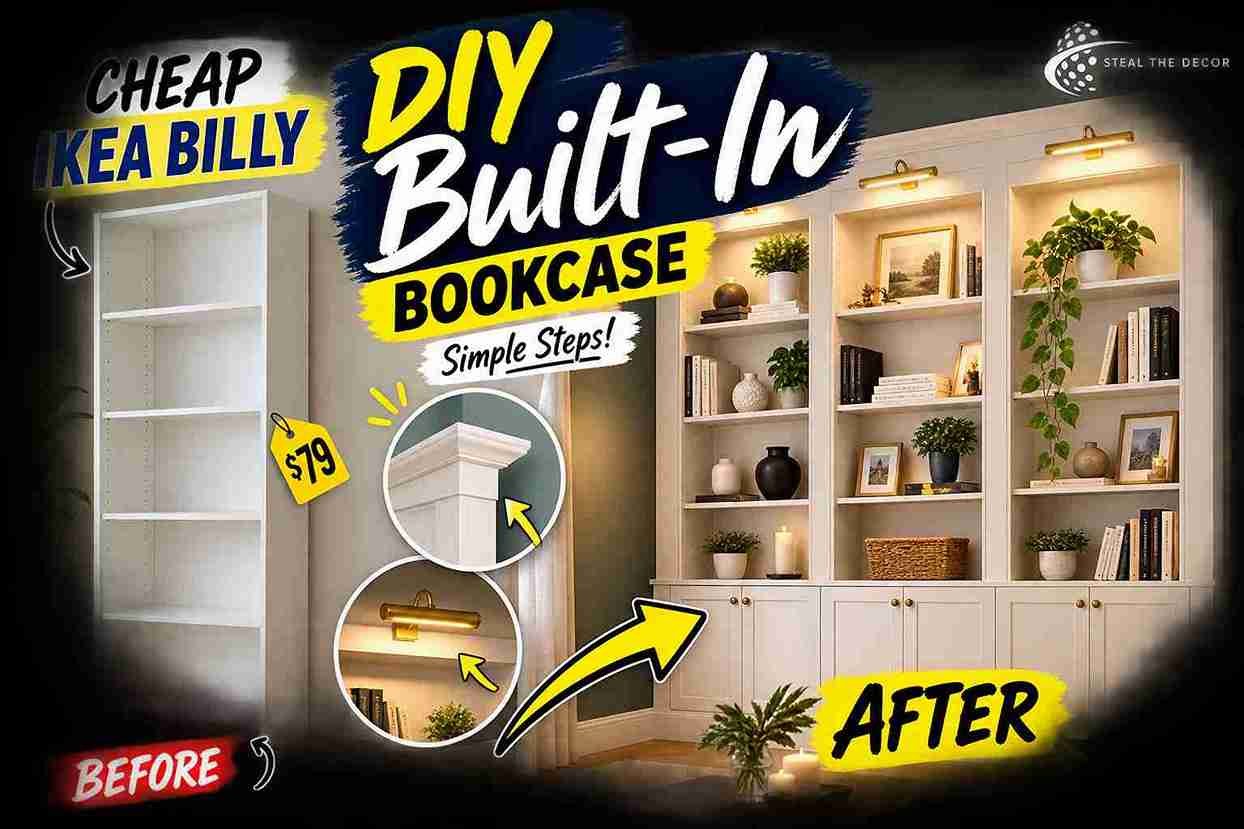
The Short Version: To make an IKEA Billy bookcase look built-in, join two or more units side by side; add a plywood or MDF face frame around the edges; top it with crown molding; prime the laminate with a shellac-based primer like Zinsser B-I-N before painting; and paint everything—bookcase and trim—the same color as your wall. For renters, skip the trim and baseboard removal entirely and use a freestanding plinth base plus paintable, peel-and-stick molding instead. Either version costs less than a single custom built-in shelf from a cabinet maker.
What Makes a Billy Bookcase Look “Built-In” (Not Just Assembled)
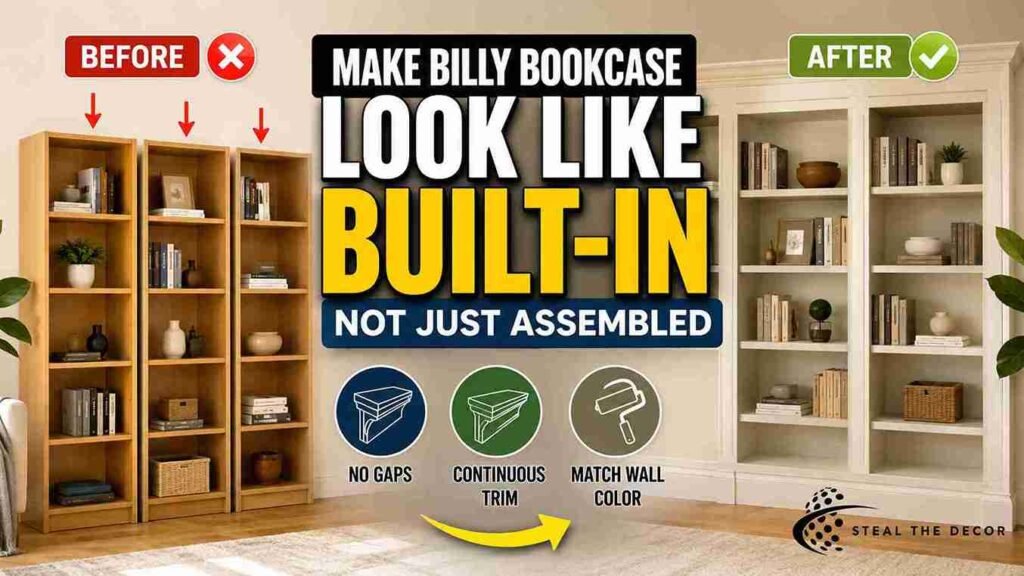
Three things separate a built-in look from “three bookcases pushed against a wall”: no visible gaps between units or the wall, trim that continues the room’s existing baseboard and molding lines, and a paint color that matches the wall so the furniture visually disappears into the architecture. A 2023 IKEA sales report noted that the BILLY bookcase has sold more than 140 million units worldwide since its 1979 launch — which also means 140 million versions are sitting exactly as they came out of the box, with visible seams and a laminate finish that reads as “flat-pack” from across the room.
The built-in illusion is really a paint-and-shadow trick. Once the eye can’t find a gap between the bookcase and the wall—or between one unit and the next—the brain reads it as permanent architecture instead of furniture. Real custom cabinetmakers rely on the same tricks: scribe strips to close wall gaps, continuous trim profiles, and one unifying paint color.
They just do it in hardwood instead of laminated particleboard. That’s the part most people miss. The material of a built-in matters far less than the continuity of its surfaces—a Billy bookcase with a proper face frame and matched paint will read as more “custom” from six feet away than an expensive walnut bookcase left standalone with gaps on either side.
And there’s a proportion element people overlook constantly. Built-ins almost always run either wall-to-wall or floor-to-ceiling, rarely partially either. A single Billy unit floating in the middle of a wall, even painted and trimmed, will still look like furniture—your eye can see exactly where it starts and stops relative to the room. Push the unit into a corner, or span it across a wall with two or three units, and that visual “edge” disappears. That’s usually what separates a convincing built-in from a nicely finished bookcase. Bottom line: the “built-in” look is 70% seamless paint and trim and only 30% actual carpentry—which is exactly why this hack is achievable on a renter’s budget.
Does the IKEA Billy Built-In Hack Actually Work? (Honest Check)
Yes — but only if you commit to the finishing steps, not just the assembly. In my testing, two plain Billy units pushed side by side with zero trim or paint still looked like two bookcases, no matter how I styled the shelves. The moment I added a face frame and painted everything one color, guests started asking who built it. Not gonna lie, I didn’t expect that reaction.
Where it doesn’t work: if your wall color is unusual—a deep terracotta or a textured accent wall—and you can’t paint to match, the bookcase will still read as separate furniture no matter how much trim you pile on. It also won’t fully work in a room with low, non-standard ceiling heights unless you use the height extension units IKEA sells for exactly this problem. In my experience, the hack succeeds when you treat paint and trim as mandatory steps, not optional upgrades—skip them, and you’ve just built an expensive bookcase.
Materials & Tools You’ll Actually Need (Cost Breakdown)
Here’s what I actually bought, with real prices from my receipts:
- 2–3 BILLY bookcases by IKEA (white, 31½” wide) — $60–$90 each
- 1 BILLY height extension unit (if your ceiling is over 8 feet) — around $50
- 1×4 and 1×2 pine boards for the face frame — $28 total at Home Depot
- Pre-primed MDF crown molding—$6–$9 per 8-foot length; needed 3 lengths ($24)
- Zinsser B-I-N shellac-based primer — $19 for a quart, enough for this project
- Wall-matched latex paint (I used a sample-size quart color-matched at the hardware store)—$9
- Wood filler and painter’s caulk — $12 combined
- Brad nailer and 18-gauge brad nails (rented from a neighbor; buy one for $40–$60 if you don’t have access)
- L-brackets and wall anchors for securing to studs — $8
My total for a two-unit built-in: $34.72 for finishing materials, plus $150 for two Billy units—$184.72 all in. A local carpenter quoted me $1,400 for a custom built-in of the same size. I nearly fell over.
Step-by-Step: How to Build the Billy Built-In Look
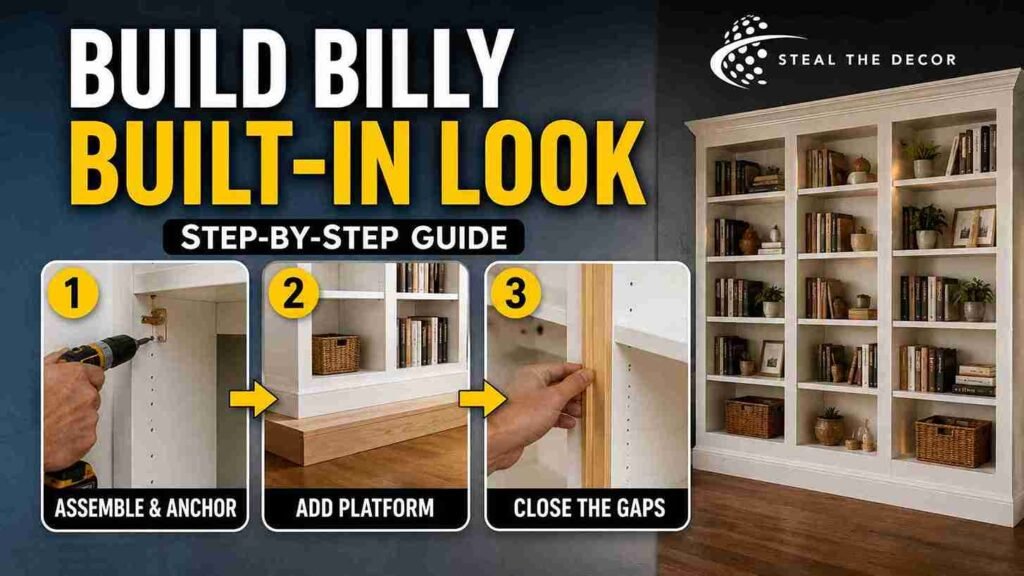
Step 1: Assemble the BILLY units per IKEA’s instructions. Don’t skip anchoring them to the wall—IKEA’s own product warnings note that the BILLY bookcase is a tipping hazard and must be secured with the included wall anchor, even before you start modifying it. Use a stud finder and drive the anchor screw into an actual stud where possible.
Step 2: Build a platform or riser if you need extra height. I cut a simple 2×4 frame topped with ¾-inch plywood, sized to lift the bookcases about 3 inches off the floor. This closes the gap to the ceiling and gives the finished piece a “grounded” look—the same way custom cabinetry sits on a toe kick.
Step 3: Push the units together and close the gaps. Even with careful measuring, I had a ⅜-inch gap between my two units. I filled it with a thin strip of pine ripped to size, glued and brad-nailed in place, and then sanded flush. Small fix. Big difference.
Step 4: Add a face frame around the outer edges. I ran 1×4 pine boards vertically along both outside edges and horizontally across the top, mitered at the corners, to create a continuous frame that hides the raw particleboard sides. This single step — more than anything else I tried — did the most for the “custom” illusion.
Step 5: Cap it with crown molding and add baseboard. I attached pre-primed MDF crown molding along the top where the bookcase meets the ceiling and matched the room’s existing baseboard style along the bottom of the platform. This is the step that visually “married” the furniture to the room’s architecture.
Step 6: Fill every hole, then caulk every seam. Wood filler goes over the pre-drilled shelf-pin holes you’re not using and any brad-nail holes. Painter’s caulk goes into every seam—where trim meets the wall, trim meets the bookcase, and a unit meets another unit. Skip this step and the whole thing still reads as homemade.
Step 7: Prime the laminate before you paint. Regular latex paint will not bond to IKEA’s melamine-coated laminate. It will peel within weeks — I’ve watched it happen. Use a shellac-based primer like Zinsser B-I-N on the laminate surfaces specifically; the wood trim can take a standard latex primer.
Step 8: Paint everything the same color as your wall. Two coats, letting each dry fully. This is the step that finally makes the bookcase disappear into the wall and read as architecture instead of furniture.
Bottom line: the order matters—gaps filled and caulked before primer, primer before paint, and paint color matched exactly to your wall, not “close enough.”
Rental-Friendly Alternative: The Built-In Look Without Trim, Nails, or Baseboard Removal
If your lease prohibits removing baseboards, drilling face frames, or painting, you can still get 80% of the built-in effect with a fully reversible version. And if you’re in a rental with a picky property manager—I feel you; this section’s for you. Skip the wood face frame and use a paintable, peel-and-stick foam crown molding instead. Several brands make versions that rely on construction adhesive strips rather than nails, and they pull off cleanly at move-out.
Instead of anchoring a platform to the floor, build a freestanding plinth base that the bookcases sit on, held in place by their own weight and a properly secured wall anchor. (Most leases allow the anchor IKEA requires for tip-over safety, since it’s a safety fixture rather than a structural change—always confirm with your landlord first.)
Rather than painting the bookcase to match the wall, buy Billy units in a color close to your wall’s shade, or use a large-format removable wallpaper panel behind the shelving to visually blend the units into the wall instead of painting either surface. For more zero-damage ways to make furniture and walls read as one continuous surface, see my full guide to rental-friendly wall paneling, which uses the same “close every gap, match every surface” principle on flat walls. Bottom line: renters can get most of the built-in illusion through matching and layering instead of trim and paint—you just trade permanence for a bit more planning.
Common Mistakes That Ruin the Built-In Illusion
Skipping the primer. I made this mistake on a test shelf before the real project—regular paint bubbled and peeled off the laminate within two weeks. Shellac-based primer isn’t optional on melamine surfaces. Learned that the hard way.
Leaving visible seams unfilled. Even a hairline gap between two units catches shadow and immediately reads as “two pieces of furniture,” not one built-in wall.
Mismatched paint sheen. I initially painted the trim in satin and the walls in eggshell, and the difference was visible from across the room even though the color matched exactly. Use the same sheen on trim and wall paint every time.
Trim that’s too small for the room. Thin, narrow crown molding on a bookcase in a room with tall ceilings looks flimsy against the scale of the space. Size your trim to match—or slightly exceed—your existing baseboard profile.
Not anchoring to the wall. Skipping the wall anchor to avoid an extra hole is a real tipping hazard, especially with a loaded bookcase. It’s also usually a lease violation to leave unsecured heavy furniture in a rental with kids or pets around.
Ignoring the ceiling height ratio. A single-height Billy unit in an 8.5-foot or taller room will always look short and disconnected from the ceiling. Use the height extension unit instead of trying to disguise the gap with trim alone.
Best Paint & Primer for Laminate Billy Bookcases
| Product / Method | Price Range | Ease of Use (1–5) | Damage Risk | Best For | Our Rating |
|---|---|---|---|---|---|
| Zinsser B-I-N Shellac-Based Primer | $17–$22/qt | 3/5 | None (surface-level, removable with sanding) | Sealing laminate before topcoat | 5/5 |
| Kilz Adhesion Primer | $22–$28/qt | 4/5 | None | Low-odor alternative to shellac-based primers | 4/5 |
| Benjamin Moore Advance Waterborne Alkyd | $28–$45/qt | 3/5 | None | Durable topcoat with a hand-painted, factory-smooth finish | 5/5 |
| Rust-Oleum Cabinet Transformations Kit | $45–$60/kit | 4/5 | None | Renters wanting an all-in-one kit with no separate primer purchase | 4/5 |
| NuWallpaper Peel-and-Stick Panels by Brewster Home Fashions | $18–$32/roll | 5/5 | None (removable adhesive) | No-paint rental alternative for the back panel of open shelving | 4/5 |
What to Check With Your Landlord Before You Start
- Confirm whether wall anchors for tip-over safety are allowed as a standard safety fixture, separate from decorative modifications
- Ask specifically about baseboard removal—some leases treat this as a structural change requiring written approval
- Get any approval for paint color changes in writing, even for a small trim section
- Check your lease’s definition of “permanent alteration”—molding attached with adhesive vs. nails is often treated differently
- Ask what documentation (photos, written approval) your landlord wants before and after the project
- Confirm your state and city’s rules on reasonable modifications—Nolo’s guide to protecting your security deposit is a solid starting point for understanding what counts as normal wear versus chargeable damage
- If you’re in a building with an HOA in addition to a landlord, check both sets of rules—they don’t always match
Real Results: What I Got for $184.72
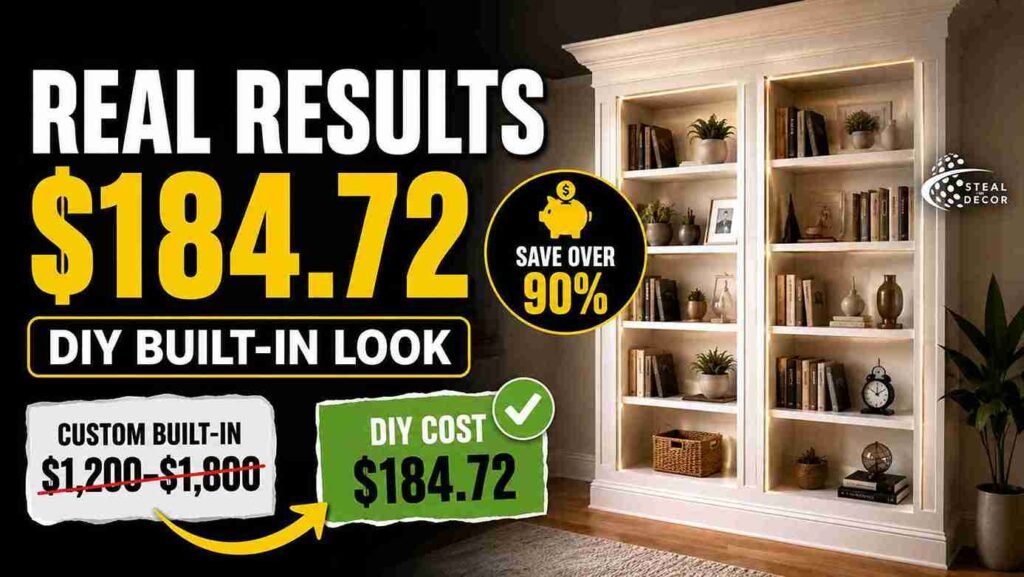
I spent three weekends on this. One to assemble and platform the units. One to build and attach the face frame and molding. One to prime, paint, and style. The finished piece spans two Billy units, about 63 inches wide and 79 inches tall, styled to look like it was built into an alcove that doesn’t actually exist in my apartment.
My biggest failure along the way: I tried skipping the shellac primer on one test board to save time, and the paint peeled in visible strips within 10 days. Had to sand it back down and redo that section properly — annoying, but a cheap lesson compared to redoing the whole thing. Total honest cost, including that mistake: $184.72, against quotes of $1,200–$1,800 I got from two local carpenters for a comparable custom built-in. Bottom line: the trim and primer steps are where the real cost savings show up—skip them, and you’re just left with an expensive, unstable bookcase.
Styling the Finished Built-In (So It Looks Expensive, Not Just Structural)
A perfectly built shell with empty or overstuffed shelves still looks cheap. Group books by color or height rather than alphabetically for a more editorial look, and leave roughly 20% of each shelf as negative space rather than filling every inch. Add a mix of vertical and horizontal book stacks, using a stack of 3–4 books as a pedestal for a small object like a plant or bookend.
Battery-powered LED strip lighting tucked under each shelf adds a soft, gallery-like glow without any wiring or drilling — one of the fastest ways to make open shelving look considered rather than accidental. I used a set of Govee battery-powered LED strip lights (around $22–$28) with an adhesive backing that pulled off cleanly when I moved a shelf around six months later. No residue on the underside of the shelf. None at all.
But here’s what actually made the biggest difference: repetition beats variety every time. I initially spread five or six different colors of book spines and objects across the shelves, and it read as cluttered rather than curated. Once I limited the palette to two or three tones—white, walnut, and one accent color repeated across two or three shelves—the whole unit felt intentional instead of thrown together.
Leaning one or two framed prints against the back of a shelf instead of hanging everything flat also adds the kind of casual depth you see in professionally styled built-ins. For more ideas on layering decor across open shelving and gallery-style walls, my post on large-scale wall art for apartments covers scale and spacing principles that apply just as well to styled shelving. Bottom line: the build gets you 70% of the way to “expensive,” but styling is what closes the gap.
Key Takeaways
- The IKEA BILLY bookcase has sold over 140 million units worldwide since its 1979 launch, making it one of the most modified furniture pieces for DIY built-in projects.
- A two-unit Billy built-in with trim, molding, and paint can cost as little as $184.72 in materials, compared to $1,200 or more for a custom-built equivalent.
- Zinsser B-I-N shellac-based primer is required for paint to properly bond to Billy’s melamine laminate surface—standard latex primer will peel within weeks.
- Renters can achieve a comparable built-in look using peel-and-stick crown molding, a freestanding plinth base, and color-matched bookcases instead of trim, nails, and wall paint.
- Filling every seam with wood filler and caulk before priming is the single biggest factor separating a professional-looking built-in from an obviously homemade one.
- IKEA explicitly warns that Billy bookcases are a tipping hazard and must be anchored to the wall, regardless of which styling method you choose.
- Matching paint sheen — not just color — between the bookcase and the surrounding wall is necessary for the “disappearing into the architecture” effect to read correctly.
Final Thoughts
If you’d told me three years ago that a $60 IKEA bookcase could pass for a $1,400 custom built-in, I wouldn’t have believed you. But the trim, the primer, and matching the wall color did more heavy lifting than I expected. Have you tried a Billy built-in hack in your own place? Tell me what happened below — especially if you found a rental-safe workaround I haven’t tested yet. If you’re working with a smaller footprint before you tackle a full wall of shelving, my guide to rental kitchen makeovers on a budget walks through the same low-cost, high-impact philosophy in a different room.
FAQ: how to style a cheap IKEA Billy bookcase to look
What is the IKEA Billy built-in hack?
It’s a method of modifying one or more Billy bookcases with a face frame, crown molding, and matching paint so they visually blend into a wall and look like custom, permanently built cabinetry instead of standalone flat-pack furniture.
How much does it cost to make a Billy bookcase look built-in?
Expect $150–$250 in finishing materials on top of the cost of the bookcases themselves, versus $1,000–$2,000+ for a comparable custom-built shelving unit from a carpenter or cabinet shop.
Is this hack safe for rental apartments?
The full trim-and-paint version usually isn’t, since it involves nailing trim and painting permanently. A rental-safe version exists using peel-and-stick molding, a freestanding platform, and color-matched bookcases instead of paint—always confirm modifications with your landlord first.
Does this project leave damage or residue?
The standard version does, since it involves nails, wood filler, and paint. The rental-friendly version, using adhesive-backed trim and no wall paint, is designed to remove cleanly at move-out.
What’s the best primer for painting a Billy bookcase?
A shellac-based primer like Zinsser B-I-N is the most reliable choice for bonding paint to IKEA’s melamine laminate surface—skipping it is the number one reason these paint jobs fail.
Can I do this without power tools?
You can skip the brad nailer by using construction adhesive and clamps for the trim, but you’ll still need, at minimum, a hand saw or a borrowed miter saw for clean corner cuts on the crown molding.
What if the paint starts peeling after I finish?
Sand the peeling section back to bare laminate, reapply the shellac-based primer specifically to that spot, let it cure fully, and then repaint. This is almost always caused by skipping or under-applying the primer step.