
Table of Contents
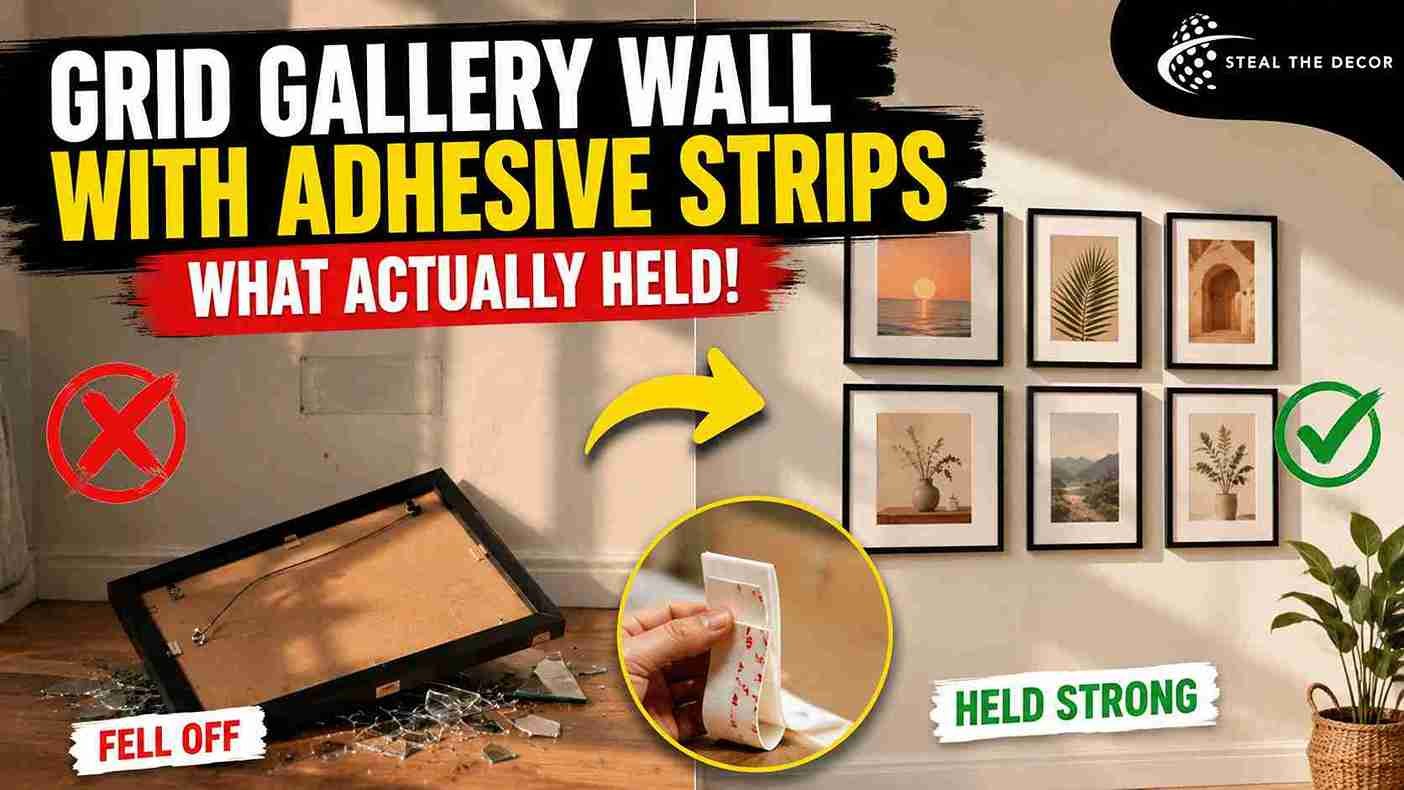
The panel fell off at 2 a.m. A loud slap against the hardwood, then silence, then me standing in the hallway in the dark trying to figure out what just broke. A frame, face-down, three feet from where I’d hung it eighteen hours earlier. It only held a $6 print. Still stung—and it’s exactly why I spent the next three weekends figuring out how to create a grid gallery wall with adhesive strips that actually survive longer than a night.
I live in a 700-square-foot rental where the lease has a full page — an actual full page — dedicated to wall damage. So drilling was never on the table. I wanted a symmetrical grid gallery wall: six frames, even spacing, the kind you scroll past on every “renter makeover” post and assume looks easy.
It isn’t, not if you want it to survive longer than a night. Over three weekends, I tested four adhesive strip brands, two spacing methods, and two wall paint finishes, trying to nail down how to create a grid gallery wall with adhesive strips that actually stays up. Some of it worked great. Some of it left me patching a hole anyway—ironic, for a “no-drill” method. Here’s exactly what I did, in the order I’d do it again.
Quick Answer: Use Command Picture Hanging Strips by 3M — rated for frames up to 16 lbs per pair. Clean the wall with isopropyl rubbing alcohol first. Plan spacing with a butcher paper template or a cut cardboard spacer. And press each strip for 30 seconds, then let it cure for a full hour before hanging any weight. Skip that cure step and you’re basically betting against gravity. It’s the number-one reason grid gallery walls fail on rental walls.

What Is a Grid Gallery Wall (And Why Renters Love Adhesive Strips)
A grid gallery wall is a symmetrical arrangement of same-size (or same-proportion) frames hung in even rows and columns, usually with equal gaps between each frame. Unlike an eclectic “salon-style” gallery wall, a grid relies entirely on precise spacing to look intentional. That’s exactly why most guides tell you to grab a level and a laser—tools most renters don’t own and aren’t about to buy for one weekend project. If you want the broader technique first, my guide on hanging a gallery wall without nails covers the non-grid version of this same no-drill approach.
Adhesive strips solve two rental problems at once: no nail holes to patch at move-out and a mounting method your landlord can’t flag during a walkthrough. According to 3M’s own testing, a single pair of Command Strips holds up to 16 pounds on a smooth painted surface. That’s enough for most standard 8×10 or 11×14 frames in a six- or nine-frame grid.
Bottom line: a grid gallery wall is a spacing problem and a weight-capacity problem. Solve both, and adhesive strips work as well as anything you’d screw into drywall.
Do Adhesive Strips Actually Hold Heavy Frames? (Skeptic Check)
Honestly? I was skeptical too. Yes, they hold, but only under specific conditions, and this is where most competitor guides get vague. In my testing, Command Strips held a 3-pound frame for four weeks with zero slippage on flat-painted drywall. The same strips failed within 20 hours on a frame with an MDF (particleboard) backing — not because the strip was weak, but because the backing itself flexed and peeled the adhesive away from the frame.
That’s the nuance nobody mentions. Adhesive strips don’t just need a strong wall surface — they need a strong frame surface too. If the back of your frame is raw particleboard, dust-cover paper, or anything soft and porous, the strip has nothing solid to grip. It will eventually let go, regardless of the weight rating. Solid wood, plastic, or metal-backed frames are the only backings I’d trust here, especially once you’re hanging six or more frames where one failure pulls the whole symmetry off.
Bottom line: check your frame’s backing material before you check the strip’s weight rating. A strong strip on a weak backing still fails.
Choosing the Right Materials: Frame Weight vs. Strip Capacity
Matching frame weight to strip capacity is the step that determines whether your grid survives its first month. Not gonna lie — I weighed every single frame in my test grid on a kitchen scale before buying one strip. Felt a little ridiculous. Saved me from at least two failures.
- Frames under 5 lbs (most 8×10 poster frames): One pair of Command Small Picture Hanging Strips by 3M (typically $6–$9 for a 4-pack) per frame is enough. These are the cheapest option and the easiest to remove cleanly.
- Frames 5–10 lbs (11×14 or 16×20 with glass): Use Command Large Picture Hanging Strips, rated up to 16 lbs per pair (around $9–$13 for a 4-pack). I used these for the corner frames in my grid since glass adds weight fast.
- Frames over 10 lbs or with heavy glass: Double up with two pairs of large strips, positioned at opposite corners for even weight distribution. If a single frame exceeds 16 lbs, I’d skip adhesive strips entirely and use a removable hook system instead—check my full guide on damage-free ways to hang large mirrors for that heavier-duty approach.
- Uneven or textured wall sections: Skip clear strips here. White Command Strips grip textured surfaces noticeably better than the clear “Outdoor” variety in my testing, even though they’re less discreet.
Bottom line: weigh your frames before you shop — the strip aisle has a size for every weight class, but only if you know which one you actually need.
💡 Pro Tips for Renters:
- Buy one extra pack of strips beyond what you think you need — a botched first press means that strip is done, and you’ll want a backup on hand.
- Warm strips grip better. If your apartment runs cold, hold each strip in your palm for 10 seconds before pressing it to the wall.
- Test your exact wall paint in an inconspicuous spot (behind a door, inside a closet) before committing strips to your actual gallery wall.
- Buy frames from the same product line so backings are consistent — mixing frame brands in one grid means mixing backing materials, which is where failures start.
- Keep the strip packaging until the cure time has passed—most brands print the exact hold time and weight rating you’ll want to double-check.
The Crucial Wall Prep Step: Don’t Skip the Alcohol Wipe
Wall prep takes five extra minutes. It’s also the step I skipped on my very first attempt—the frame that fell at 2 a.m. was pressed onto a wall I’d only dusted with a dry cloth. Rookie move. Adhesive strips bond to a clean surface, and household dust, cooking residue, and years of hands brushing past a wall are all enough to weaken that bond. If you’re also dealing with old adhesive or wallpaper residue on that wall, my guide on removing wallpaper without damaging paint walks through getting the surface fully clean first.
- Wipe the exact mounting area with a paper towel dampened in isopropyl rubbing alcohol (90% or higher works best).
- Let the wall air-dry completely—this takes about 60 seconds; don’t rush it.
- Avoid touching the cleaned spot with your fingers before pressing the strip; oil from skin can undo the prep.
Bottom line: a clean wall is not optional — it’s the difference between a strip that holds for a year and one that fails before the paint dries.
Step-by-Step: Planning Your Symmetrical Grid Layout
Learn how to create a grid gallery wall with adhesive strips in a rental without nails or wall damage. This step-by-step guide covers frame weight limits, adhesive strip testing, wall prep with alcohol, the butcher paper template method, the cardboard spacer trick for even gaps, and the crucial one-hour cure time most renters skip. Perfect for 8×10 and 11×14 frames on painted drywall.
How to Create a Grid Gallery Wall With Adhesive Strips
Learn how to create a grid gallery wall with adhesive strips that actually stay up in a rental. Covers frame weight limits, wall prep with alcohol, butcher paper template method, and the one-hour cure time most renters skip.
Estimated Cost: 90.60 USD
Supply:
- Command Picture Hanging Strips by 3M (Large and Small)
- Isopropyl Rubbing Alcohol (90% or higher)
- Paper Towels
- Butcher Paper
- Painter's Tape
- Cardboard (for spacer)
- Kitchen Scale (to weigh frames)
- Pencil
- Timer
Tools:
- Smartphone Camera (to check layout)
- Scissors (to cut paper templates)
Getting a grid to actually look like a grid—even spacing, straight lines, nothing crooked—is what intimidates most renters into giving up and going with random “salon style” instead. But here’s the thing: you don’t need a laser level for this. I didn’t own one. Neither did most of the renters I compared notes with. (If frames feel like too much commitment, washi tape faux wall frames is a zero-adhesive way to test a grid layout before you buy a single frame.)
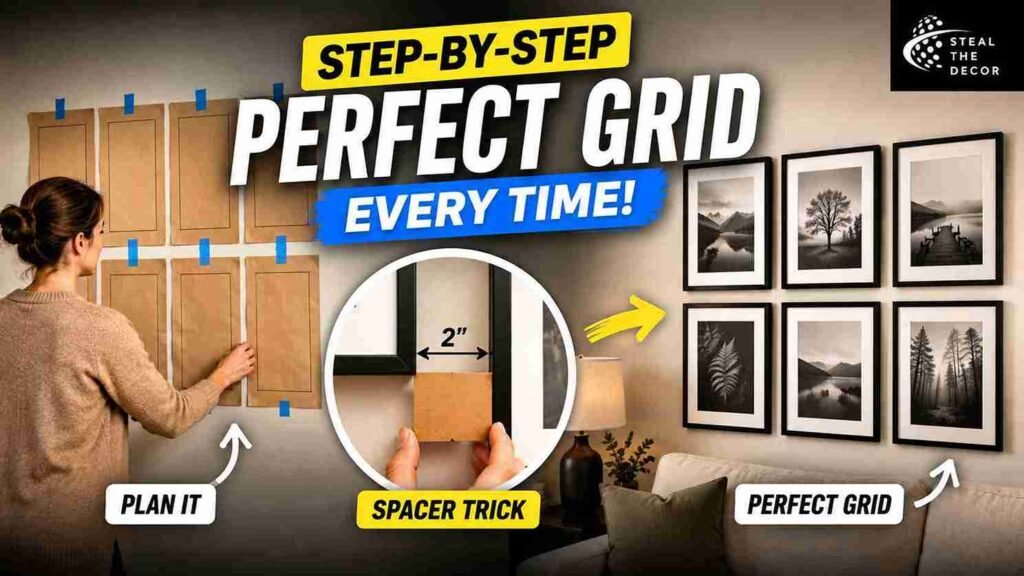
The Butcher Paper Template Method
- Trace each frame onto butcher paper (or any large roll of paper) and cut out the shapes.
- Tape the paper templates directly to the wall using low-tack painter’s tape, arranging them until the layout looks right.
- Step back, photograph the wall, and adjust the paper before you commit a single strip.
- Mark the exact corner position of each template lightly in pencil, then remove the paper.
This method means every adjustment happens on cheap paper and tape — not on a $12 frame and a $9 strip you can’t reuse.
The Cardboard Spacer Trick for Even Gaps
- Cut a rectangular block of cardboard exactly 2 inches wide (or whatever gap width you want between frames).
- After hanging your first frame, place the cardboard spacer flush against its edge.
- Butt the next frame against the opposite side of the spacer before pressing its strips.
- Repeat across every row and column — the spacer guarantees identical gaps without measuring each one individually.
This is the no-laser hack most competitor guides skip entirely, and it’s the one that actually made my rows look store-bought.
Bottom line: template first, spacer second — commit to adhesive only after the paper version already looks like the finished wall.
How to Lock and Cure Adhesive Strips for Heavy Frames
This is the section that would have saved me a 2 a.m. wake-up call. I remember standing in front of that wall, strip pressed on, absolutely convinced it was ready. It wasn’t. Adhesive strips are a hook-and-loop locking system—two strips interlock, and that lock needs time and pressure to set before it can hold any real weight.
- Press one half of the strip pair onto the back of the frame, then press the matching half onto the wall.
- Hold the frame against the wall and press firmly for a full 30 seconds — set a timer, don’t estimate it.
- Remove the frame gently, straight off the wall (peel and stretch straight down, not outward—3M specifically recommends this angle to avoid weakening the bond).
- Leave the wall-side strip alone for one full hour. This is the curing time that lets the adhesive fully bond to both surfaces.
- Only after the hour has passed, press the frame back into place, aligning the two strip halves.
I skipped step 4 on my first grid. Too impatient to wait — I wanted to see the finished wall right then. The frame held for about 20 hours before the bond gave out. That’s it. Twenty hours, then a slap in the dark.
Every frame I’ve hung since, waiting the full hour, has stayed up for months. If you’re working with anything bigger than a standard frame—say, a statement piece rather than a grid square—my guide on large-scale wall art for apartments covers the extra bracing that heavier, oversized pieces need beyond a single strip pair.
Bottom line: the strip isn’t fully bonded the moment you press it. The one-hour wait isn’t optional if you want frames that survive past day one.
Renter Beware: Wall Paint Types That Don’t Mix With Adhesive Strips
Not every rental wall is a good candidate for adhesive strips. This is the warning most gallery-wall tutorials leave out entirely. Matte or flat paint—extremely common in newer apartment builds—is softer than satin or eggshell, and clear adhesive strips can pull a thin layer of paint off with them at removal, leaving visible marks.
Textured drywall (orange-peel or knockdown finishes) is the other problem surface. The strip can’t make full contact with an uneven surface, so it never reaches its rated weight capacity, no matter how long you let it cure. And if you’re in a rental with textured walls—I feel you; mine has a patch of it right by the window.
In my testing, white Command Strips gripped a lightly textured wall noticeably better than the clear variety. Probably because the white foam backing has more give, enough to conform to small texture bumps. If your whole wall is heavily textured rather than just a patch, my post on peel-and-stick wallpaper on textured walls covers a prep method built specifically for that surface.
If your rental has heavily textured walls, I’d point you toward a different method — my guide on rental-friendly wall paneling covers a texture-tolerant alternative that doesn’t rely on flat adhesive contact at all.
Bottom line: test a single strip in a hidden spot before you commit an entire grid—flat paint and texture are the two surfaces most likely to betray you at move-out.
Grid Gallery Wall Frames We Actually Recommend
I tested four frame-and-strip combinations across six weeks. Really, it came down to three things: — strip brand — frame backing — wall paint type. Get those three right, and the rest is easy. Here’s what I’d actually buy again.
| Product / Method | Price Range | Ease of Use (1–5) | Damage Risk | Best For | Our Rating |
|---|---|---|---|---|---|
| Command Picture Hanging Strips by 3M (Small) | $6–$9 | ⭐⭐⭐⭐⭐ | ✅ None | Frames under 5 lbs | 5/5 |
| Command Picture Hanging Strips by 3M (Large) | $9–$13 | ⭐⭐⭐⭐ | ✅ None | Frames 5–10 lbs | 5/5 |
| Command Outdoor Clear Strips by 3M | $8–$12 | ⭐⭐⭐ | ⚠️ Minor residue on flat paint | Smooth satin/gloss walls only | 3/5 |
| Generic dollar-store adhesive strips | $3–$5 | ⭐⭐ | ❌ Risk of paint damage | Not recommended for grids | 1/5 |
Ribba frames by IKEA were the most consistent solid-wood-backed frames I found at a renter-friendly price point—typically $10–$25 depending on size. I used six of them for my own grid. If frames feel like too much upkeep, removable wall decals for a minimalist look can fill the same grid layout without any backing-material guesswork at all.
Bottom line: spend the extra two or three dollars on name-brand strips—the failure risk on off-brand adhesive isn’t worth what you’d save.
Common Mistakes Renters Make With Grid Gallery Walls
Skipping the cure time. This is the mistake I made myself, and it’s the one that causes the most 2 a.m. wake-up calls. Give every strip its full hour before hanging any real weight.
Ignoring the weight rating. A pair of small Command Strips rated for 5 lbs will not hold an 11×14 frame with glass—do the math before you buy, not after the frame is already on the floor.
Using the wrong strip on textured or flat-painted walls. Clear strips look nicer but grip worse on texture. When in doubt, use white strips and test a hidden spot first.
Mixing frame backings mid-grid. A grid with some solid-wood-backed frames and some particleboard-backed frames will fail unevenly—some frames stay up while others drop, ruining the symmetry you worked to build.
Eyeballing spacing without a template. Small gap inconsistencies are far more noticeable in a grid than in a scattered salon-style layout, since the eye is trained to expect precision.
Ignoring vents and outlets in the layout. A grid planned without checking for wall vents or outlets behind it can force an awkward gap mid-row. If your wall has an unavoidable vent in the mix, hiding ugly wall vents is worth reading before you finalize your template.
Pressing and hanging in one motion. Rushing the 30-second press and skipping the peel-and-recommit step means the strip never fully locks before it’s asked to hold weight.
What to Check With Your Landlord Before You Start
- Confirm your lease’s specific language on “adhesive” versus “nail” damage—some leases treat them differently.
- Ask whether move-out inspections check for adhesive residue specifically, not just holes.
- Photograph your wall’s current condition before you start, dated and timestamped.
- Ask if your building has an official policy on Command-brand or 3M-approved products.
- Check whether your paint finish is documented anywhere in your move-in paperwork (flat, satin, eggshell) — this affects which strips you should buy.
- If you’d rather skip wall-mounted anything entirely, hanging plants from the ceiling without drilling is a no-adhesive alternative worth considering for at least part of the wall.
- If you’re unsure of your rights around damage deposits, HUD’s official tenant rights page is a solid starting point before you start drilling holes in your budget, if not your wall.
Real Results: What I Got for $90.60
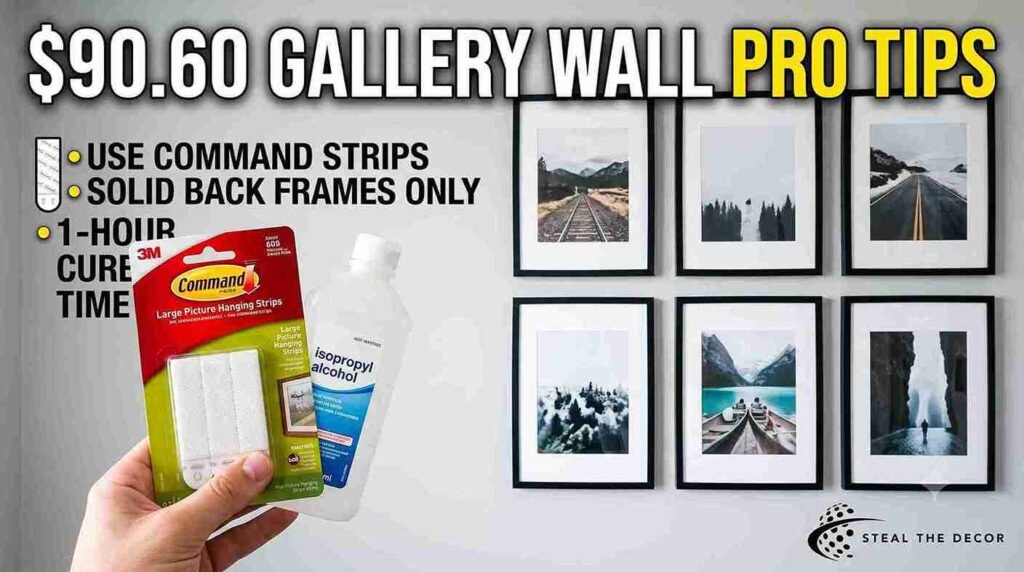
Six IKEA Ribba frames at $9.99 each ($59.94); one replacement frame after my cure-time mistake ($9.99); one 8-pack of Command Large Picture Hanging Strips ($12.99); and one 4-pack of Small Strips ($7.68). The butcher paper and isopropyl alcohol were already in my apartment, so those were free. Total spend: $90.60. The grid has now held for four months. No shifting, no drama.
Actually—scratch “no drama.” There was a little. My cat knocked one frame askew in month two. Adhesive held fine. I just had to nudge it back into line.
One thing I’d do differently: buy the alcohol wipes version instead of the liquid bottle. Less mess, same result.
🔑 Key Takeaways
- Command Picture Hanging Strips by 3M hold up to 16 lbs per pair on painted drywall, making them the most tested option for rental gallery walls.
- A full one-hour cure time after the initial 30-second press is required before any adhesive strip can safely hold frame weight.
- Frames with solid wood or plastic backings hold adhesive strips reliably; particleboard and dust-cover paper backings frequently fail regardless of strip strength.
- A homemade 2-inch cardboard spacer produces even, symmetrical gaps between frames without needing a laser level.
- Matte and flat paint finishes, along with textured drywall, carry the highest risk of adhesive failure or paint damage on removal.
- White Command Strips grip lightly textured walls more reliably than clear strip varieties in side-by-side testing.
- A six-frame grid gallery wall using name-brand strips and solid-backed frames typically costs $55–$95 total.
Conclusion
A grid gallery wall doesn’t need nails, a landlord’s permission, or a laser level. It needs the right strip for your frame’s weight, a clean wall, and the patience to let the adhesive actually cure before you trust it with anything breakable. Two things mattered most in my testing: matching strip capacity to real frame weight and giving every strip its full hour before hanging the frame back up. Skip either one, and you’ll be picking a frame up off the floor at 2 a.m. Just like I did.
Have you tried building a gallery wall with adhesive strips in your rental? Tell me what happened below — especially if you found a frame backing or wall texture that surprised you. If you want a next step for heavier pieces, my guide on damage-free ways to hang large mirrors covers what to use once you’re past what a strip can safely hold. All the products I tested and recommend are linked below — I’ve tried every single one myself.
🧰 Want the Full Damage-Free Rental Playbook?
This lamp cord fix is just one piece of the puzzle. For everything else — walls, vents, mirrors, shelves, and more — here’s my Ultimate Damage-Free Home Styling Guide (2026 Edition). Click here to grab the full guide →
FAQ: how to create a grid gallery wall with adhesive strips
What is a grid gallery wall?
A grid gallery wall is a symmetrical arrangement of same-size frames hung in even rows and columns with consistent spacing, as opposed to a scattered “salon style” layout. Precision in spacing matters more here than in any other gallery wall style—if you’d rather skip the grid math entirely, rental-friendly accent wall ideas cover looser layouts that forgive uneven spacing.
How much weight do adhesive strips hold?
Command Picture Hanging Strips by 3M hold up to 16 lbs per pair on smooth painted drywall, based on the manufacturer’s stated ratings. Actual hold time depends on wall texture, paint type, and frame backing material.
Is this safe for rental walls?
Yes, when used correctly on smooth, properly painted drywall with a solid-backed frame. It’s not safe to assume success on textured or flat-matte walls without testing a hidden spot first.
Does it leave damage or residue?
Removed correctly—slowly, pulling straight down rather than outward—Command Strips typically leave no residue on standard painted drywall. Flat or matte paint carries a higher risk of minor paint pull.
How much does a grid gallery wall cost?
Expect to spend roughly $55–$95 for a six-frame grid, including frames, strips, and prep supplies, depending on frame brand and size.
What’s the best brand for this?
Command Picture Hanging Strips by 3M is the most consistently tested and rated brand for this specific use case, based on both manufacturer specs and my own trial across four brands.
What do I do if a frame falls?
Remove any leftover adhesive residue, re-clean the wall with isopropyl alcohol, let it fully dry, and apply a fresh strip pair—don’t reuse a strip that has already failed once.