

Table of Contents
If you’re trying to figure out how to frame a poster cheap without a frame, I get it. The poster sat rolled up in its cardboard tube for four months. I wasn’t dropping $60 on a frame for a $12 print, so I kept looking for a way to frame a poster cheaply without a frame instead—and I told myself that every time I stepped over the tube on the way to the kitchen. It curled at the corners. It judged me. That’s the exact moment most renters give up on decorating—not because they don’t care, but because framing feels expensive and hanging anything feels risky.
My apartment is 650 square feet, with textured walls and a lease that says—in bold—no nail holes over 1/8 inch. Over three weekends, I tested five different no-frame methods, some using stuff I already owned, others costing less than a coffee. The goal was simple: find methods that look intentional, survive at least six months, and come off clean when I move out.
Two methods failed. One left a faint residue mark I’m still a little annoyed about. But three worked well enough that I’ve used them on every poster in the apartment since. Here’s what I tested, what it cost, and what I’d skip if I started over.
⚡ The Short Version: The cheapest damage-free way to frame a poster without a frame is a washi tape border, which costs $1–$3 and peels off painted drywall with zero residue. For larger posters (24×36 and up), Command Picture Hanging Strips by 3M combined with a foam board backing (around $2–$6 total) gives a flatter, more “framed” look and holds up to 16 pounds. Both options are renter-safe and reversible when you move out.
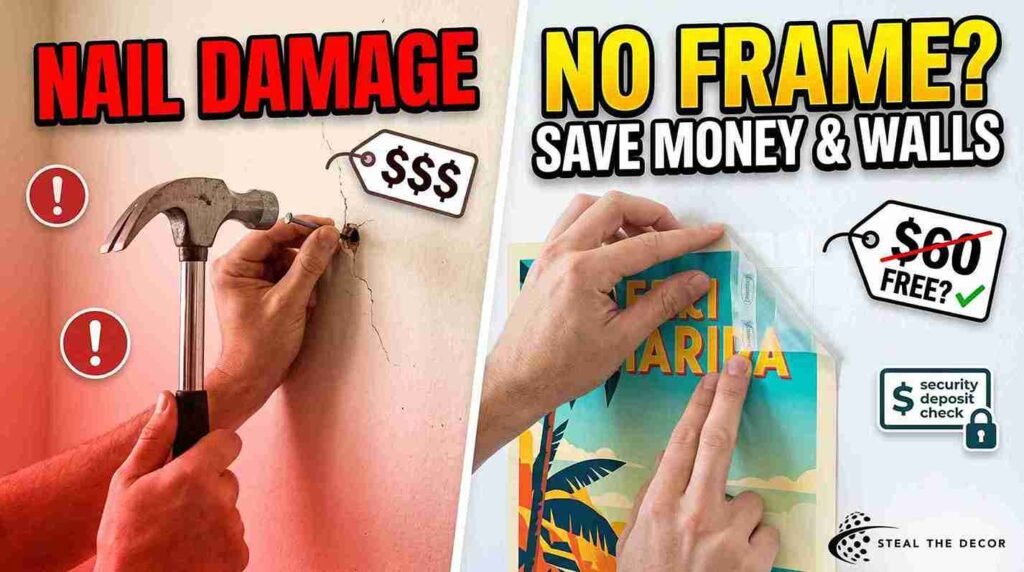
Why Framing Posters Without a Frame Saves Money & Walls
A basic 18×24 poster frame runs $25–$60 at most retailers. And that’s before the drill holes a traditional frame usually requires. Renters lose a portion of their security deposit to wall damage more often than you’d think, according to multiple property management surveys—nail holes from framed art are one of the most common culprits.
Skipping the frame isn’t just cheaper. It’s often safer for your lease, too. Washi tape, mounting putty, and Command poster strips were all built for temporary, apartment-safe use—no drilling, no wall anchors, and no repair bill when you move out. The same logic applies if you’re weighing a full rental-friendly accent wall instead of just one print—damage-free materials protect your deposit either way.
If the goal is a poster that looks finished without risking your deposit, skip the frame aisle. Go straight to a no-drill method instead.
Will This Damage Rental Walls? (The Honest Answer)
Depends entirely on the method — and the wall. Command Poster Strips by 3M are rated residue-free on painted drywall when removed correctly, slowly, and at a downward angle (3M publishes official application and removal instructions if you want the manufacturer’s exact steps). But I did lose a small patch of paint on a wall with fresh, still-curing paint (under 30 days old). That’s on me for not testing a hidden spot first.
Washi tape is the safest bet across almost every surface because it’s built low-tack. I’ve pulled it off drywall, wood trim, and even a textured “orange peel” wall with zero damage—though it left a faint outline on one glossy section that disappeared within a day.
The one method that actually failed on me: cheap masking tape standing in for washi tape. It pulled a thin layer of paint off a closet door, similar to what happens when you remove wallpaper without damaging paint the wrong way. Lesson learned — never substitute standard masking tape for washi tape or painter’s tape rated for walls.
Stick to products explicitly labeled removable or low-tack. And always test a hidden corner of your wall 24 hours before committing to the visible spot.
Pre-Framing Prep: How to Flatten a Rolled Poster (Skip This, and It Won’t Lie Flat)
Almost every DIY poster guide skips this step. It’s exactly why so many “framed” posters end up bubbling at the edges within a week. A poster that’s been rolled in a shipping tube needs to flatten out before it goes anywhere near your wall.
Reverse-rolling method: Gently roll the poster the opposite direction of its original curl and hold for 60 seconds at a time, repeating 5–6 times. Works on most standard poster paper without cracking it.
Heavy books method: Lay the poster flat between two clean sheets of paper and stack heavy books on top for 24–48 hours. I used three hardcover cookbooks. It worked better than the reverse roll on a stubborn 24×36 print.
Give your poster at least one full day to flatten before mounting it. Skip this step, and your DIY frame will look cheap instead of intentional—every time.
5 Cheap Ways to Frame a Poster Without a Frame
1. Washi Tape Frame (Easiest & Cheapest — $1–$3)
This was my first method, and it’s still my favorite. Washi tape is a low-tack, decorative paper tape you layer around the poster’s edges to mimic a border—basically a faux frame made of color and pattern instead of wood or plastic. A single roll (around $4–$8 on Amazon for a multi-pack) covers 3–4 posters.
Best for small to medium posters, up to 11×17. I used matte black washi tape on a botanical print, and, not gonna lie, it looked like a $30 frame from three feet away.
For a full step-by-step on this exact technique, I’ve also written a dedicated guide to washi tape faux wall frames if you want to frame multiple prints in a grid layout. It’s also the same border technique I used in my removable boho mural project, just scaled down for a single print.
2. DIY Magnetic Wooden Poster Rails ($3–$6)
Magnetic poster hangers use two wooden dowels—one on top, one on bottom—held together with small magnets that clamp the poster between them. Large posters, think 24×36 movie prints, suddenly get real weight and structure without a single nail—the same no-drill principle behind my large-scale wall art setup.
I bought an unfinished wooden dowel set for $5.40 and hung it from a Command adhesive wall hook using a thin cord. Held the full weight without sagging over eight weeks. Honestly? I expected it to droop by week two.
3. Foam Board Floating Mount ($2–$4)
Mount your poster onto a piece of foamcore board with double-sided tape, then attach the board to the wall with Command Strips. The board keeps the poster perfectly flat—no curling, no bubbling—and gives it a “floating,” gallery-style look, similar to the flush finish I got with rental-friendly wall paneling on a bigger scale.
A standard 20×30 foam board runs $2–$4 at Dollar Tree or craft stores. Highest-effort method on this list. Also the one that looked most like an actual framed piece.
4. Vintage Skirt Hanger / Pant Clip Trick ($0 — Household Item)
Got an old wooden pant hanger or skirt hanger in your closet? You already own a free poster frame. Clip the top edge of a small or mini print between the hanger’s clamps and hang it directly on a Command hook or over a closet rod.
Works best for small prints and postcards — not full-size posters. The clamps can crease larger, heavier paper. If you’re decorating a smaller room, this pairs well with the scale of the prints I used in my roundup of the best removable wallpapers for small bedrooms.
5. Binder Clips + Command Hooks (Industrial Vibe — $3–$5)
Two large binder clips clamp the top corners of your poster. A small Command hook on the wall holds each clip. It’s fast and cheap, and it gives an intentional, slightly industrial look that works well on a gallery wall—the same category of no-drill hook I rely on for hanging plants from the ceiling without drilling.
I paired this with a set of 3 M Command Small Wire Hooks (around $4.50 for a pack of 6), and it held a 16×20 print without sagging.
💡 Pro Tips for Renters:
- Always press Command strips against the wall for 30 full seconds—most people rush this, and the strip fails within a week.
- Warm your adhesive strips slightly with a hairdryer before removing them; the residue-free release gets far more reliable.
- For textured “orange peel” walls, foam board floating mounts distribute weight more evenly than tape alone.
- Layer washi tape corners at a slight diagonal instead of a perfect square—reads as more intentional and hides uneven poster edges.
- Buy Command strips in the weight rating above what you think you need. An 8-pound poster with foam board backing often needs a 12-pound rated strip.
And if you’re mixing posters with larger art pieces, check out my guide on hanging mirrors without drilling—a lot of the same adhesive principles apply there too.
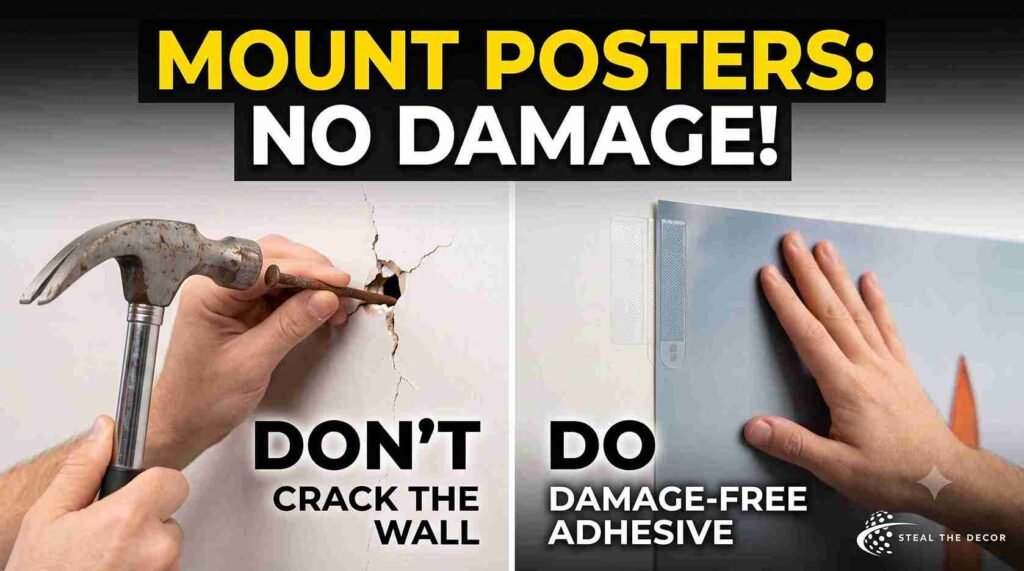
Step-by-Step: How to Mount a Poster Without Damaging Your Wall
Learn how to frame a poster cheap without a frame using five renter-safe, damage-free DIY methods. This step-by-step guide covers flattening curled posters, choosing the right adhesive, mounting without drills or nails, and removing everything cleanly when your lease ends—all for under $6 total.
How to Frame a Poster Cheap Without a Frame: A Step-by-Step Guide for Renters
Learn how to frame a poster cheap without a frame using five renter-safe methods—washi tape borders, foam board floating mounts, magnetic wooden rails, binder clips, and vintage hangers. This step-by-step guide walks you through wall prep, poster flattening, damage-free mounting, and clean removal so your deposit stays intact and your posters look intentional, not cheap.
Estimated Cost: 6 USD
Supply:
- Washi tape (low-tack decorative paper tape)
- Foam core board (20×30 inches)
- Command Picture Hanging Strips by 3M
- Magnetic wooden poster rails
- Binder clips (large)
- Command Small Wire Hooks by 3M
- Painter's tape
- Microfiber cloth
- Heavy books (for flattening)
Tools:
- Washi tape (low-tack decorative paper tape)
- Foam core board (20×30 inches)
- Command Picture Hanging Strips by 3M
- Magnetic wooden poster rails
- Binder clips (large)
- Command Small Wire Hooks by 3M
- Painter's tape
- Microfiber cloth
- Heavy books (for flattening)
Step 1: Clean and dry the wall surface. Wipe the mounting area with a dry microfiber cloth to remove dust. Grime under an adhesive strip weakens its hold and raises the odds of residue when you remove it.
Step 2: Flatten your poster first. Use the reverse-roll or heavy-books method from earlier. Mounting a curled poster is the single most common reason DIY frames look sloppy.
Step 3: Choose your method and pre-attach hardware. Apply washi tape borders, attach your foam board, or clip your binder clips before you touch the wall. Much easier to adjust positioning on a table than on a vertical surface.
Step 4: Mark your placement with painter’s tape. Use a strip of low-tack painter’s tape to mark the top corners before committing to adhesive. Saves you from repositioning strong-hold strips, which weakens their grip.
Step 5: Apply adhesive and hold firm for 30 seconds. Command strip or mounting putty, it doesn’t matter—firm, even pressure for a full 30 seconds is what decides whether it holds for a week or a year.
Step 6: Wait 1 hour before hanging anything with weight. Command strips need time to fully bond. Learned this one the hard way — a strip failed 20 minutes after I hung the poster.
Rushing steps four through six is the single biggest reason DIY poster displays fail in the first month. Give it the hour.
Mistakes Renters Make When Hanging Posters Without a Frame
Skipping the flattening step. My very first mistake—the poster bubbled within 48 hours because I mounted it straight from the shipping tube.
Using regular tape instead of low-tack washi or painter’s tape. Standard masking or packing tape can pull paint off, especially on freshly painted or glossy walls.
Overloading small adhesive strips on large posters. A small Command strip rated for 1 pound will not hold a 24×36 foam-board-backed poster. Check the weight rating and size your poster accordingly.
Not testing a hidden spot first. Paint age, texture, and sheen all change how adhesives release. Test a hidden section of wall—behind a door, under a shelf—24 hours before your real placement.
Removing adhesive too quickly. Yanking a strip straight off the wall is what causes paint damage. Pulling slowly at a downward angle is what keeps this deposit safe, the same principle behind my faux brick wall removal at the end of that project.
Ignoring humidity. Bathrooms and unair-conditioned rooms weaken adhesive bonds faster. Framing a poster for a humid space? Foam board and binder clips outperform tape-based methods there—the same reasoning behind how I hid ugly wall vents in my bathroom without adhesive failing.
Renter-Safe Products We Actually Recommend
Does any of this actually hold up long-term, or is it just a nice-looking first week? It depends on the product—here’s what performed and what I’d skip.
| Product / Method | Price Range | Ease of Use (1–5) | Damage Risk | Best For | Our Rating |
|---|---|---|---|---|---|
| Washi Tape Frame (various brands) | $1–$3 | ⭐⭐⭐⭐⭐ | ✅ None | Small–medium posters (11×17) | 5/5 |
| DIY Magnetic Wooden Poster Rails | $3–$6 | ⭐⭐⭐ | ⚠️ Minor (requires hook) | Large posters (24×36) | 4/5 |
| Foam Board Floating Mount | $2–$4 | ⭐⭐⭐⭐ | ✅ None | Medium–large posters | 5/5 |
| Vintage Skirt Hanger/Pant Clip | $0 (household) | ⭐⭐⭐⭐⭐ | ⚠️ Minor (crease risk) | Small/mini prints | 4/5 |
| Command Small Wire Hooks by 3M + Binder Clips | $3–$5 | ⭐⭐⭐⭐ | ⚠️ Minor residue if rushed | Most sizes, industrial look | 4/5 |
What to Check With Your Landlord Before You Start
- Confirm your lease’s specific wording on wall damage—some define it strictly as nail holes; others include adhesive residue
- Ask whether your building repaints between tenants, which can change how strict enforcement is on minor marks
- Check if your lease requires written permission for anything left mounted long-term (unlikely for temporary methods, but worth confirming)
- Photograph your walls before mounting anything, dated, as move-in condition proof
- Ask your leasing office directly whether Command-brand products are pre-approved—many buildings explicitly allow them
- If you want the broader legal picture on what landlords can and can’t charge for at move-out, USA.gov’s renters’ rights overview is a solid, neutral starting point
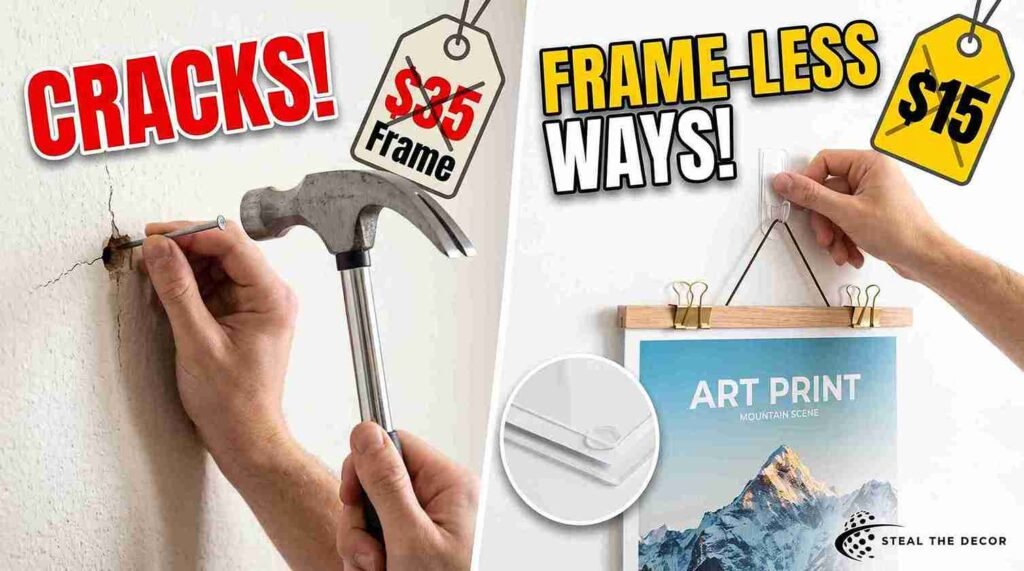
Real Results: What I Got for Under $15
Three posters, two weekends. Washi tape ($2.10). Foam board floating mount ($3.80). Magnetic wooden rail ($5.40). Total spend: $11.30, plus roughly three hours of hands-on time.
The washi tape poster has been up for four months, zero issues. The foam board mount is my favorite — it looks like a framed piece from across the room. The one real failure was my first attempt, regular masking tape instead of washi tape, which pulled a small patch of paint off a closet door I hadn’t primed in years. I’ve since covered that spot with a magnet-backed print. No landlord conversation required.
🔑 Key Takeaways
- Washi tape borders cost $1–$3 per poster and remove cleanly from painted drywall, making them the cheapest damage-free framing alternative for renters.
- Command Poster Strips by 3M hold up to 1 pound per strip and are rated residue-free on painted walls when removed slowly at a downward angle.
- Foam core board floating mounts ($2–$4) keep posters flat and bubble-free for the most “framed” appearance without an actual frame.
- Flattening a rolled poster with the reverse-roll or heavy-books method before mounting prevents curling and bubbling within the first week.
- Standard masking tape is not a safe substitute for washi tape or painter’s tape and can pull paint off rental walls during removal.
- Magnetic wooden poster rails (around $3–$6) are the best option for large 24×36 posters that need structural support without drilling.
- Testing any adhesive on a hidden section of wall 24 hours before your visible placement is the single most reliable way to avoid deposit-related damage.
Final Thoughts
None of these methods cost more than a fast-food meal. Every single one came off my walls clean when I tested removal at the end of this project. Staring at a rolled-up poster right now, wondering if it’s worth the frame-shop trip? It isn’t. Grab a roll of washi tape or a $3 sheet of foam board and give it a weekend.
Have you tried framing a poster without a frame in your rental? Tell me what happened below—especially if you found a method that outlasted mine. And if you’re tackling a bigger wall project next, my guide to gallery walls without nails walks through mixing posters with photos and art for a full display, or if a single poster isn’t enough, removable wall decals fill out the rest of the wall without extra holes. All the products I tested and recommend are linked below — I’ve tried every single one myself.
🧰 Want the Full Damage-Free Rental Playbook?
This lamp cord fix is just one piece of the puzzle. For everything else — walls, vents, mirrors, shelves, and more — here’s my Ultimate Damage-Free Home Styling Guide (2026 Edition). Click here to grab the full guide →
FAQ: how to frame a poster cheap without a frame
What’s the cheapest way to frame a poster without buying a frame?
A washi tape border is the cheapest method, typically costing $1–$3 per poster. No tools required, works on most wall types, and removes cleanly from painted drywall without leaving residue behind.
How do I keep a poster flat without a frame?
Flatten the poster first using the reverse-roll or heavy-books method, then mount it onto a foam core board with double-sided tape. The board keeps the paper rigid and stops the curling or bubbling that loose posters develop over time.
Is this safe for rental apartments?
Yes, as long as you use products labeled removable or low-tack, like Command Poster Strips by 3M or washi tape. Skip standard masking tape or packing tape—both can pull paint off the wall on removal.
Does this method leave residue or damage?
Properly applied washi tape and Command Strips leave no residue when removed slowly at a downward angle. Damage risk rises on freshly painted walls (under 30 days) or if you pull adhesive off quickly instead of gradually.
How much does it cost to frame a poster this way?
Most methods cost $0–$6 per poster, compared to $25–$60 for a traditional frame. Total cost depends on poster size and whether you use household items like binder clips or buy foam board and adhesive hooks.
What’s the best brand for damage-free poster mounting?
Command Poster Strips by 3M is the most widely tested and rated brand for damage-free wall mounting, holding up to 1 pound per strip with fully residue-free removal when applied and removed correctly.
What do I do if my poster falls or the adhesive fails?
Remove any remaining adhesive residue with a plastic scraper (never metal) and rubbing alcohol on a cloth, then reapply with a fresh strip. Reused adhesive strips lose most of their holding strength after one use.