
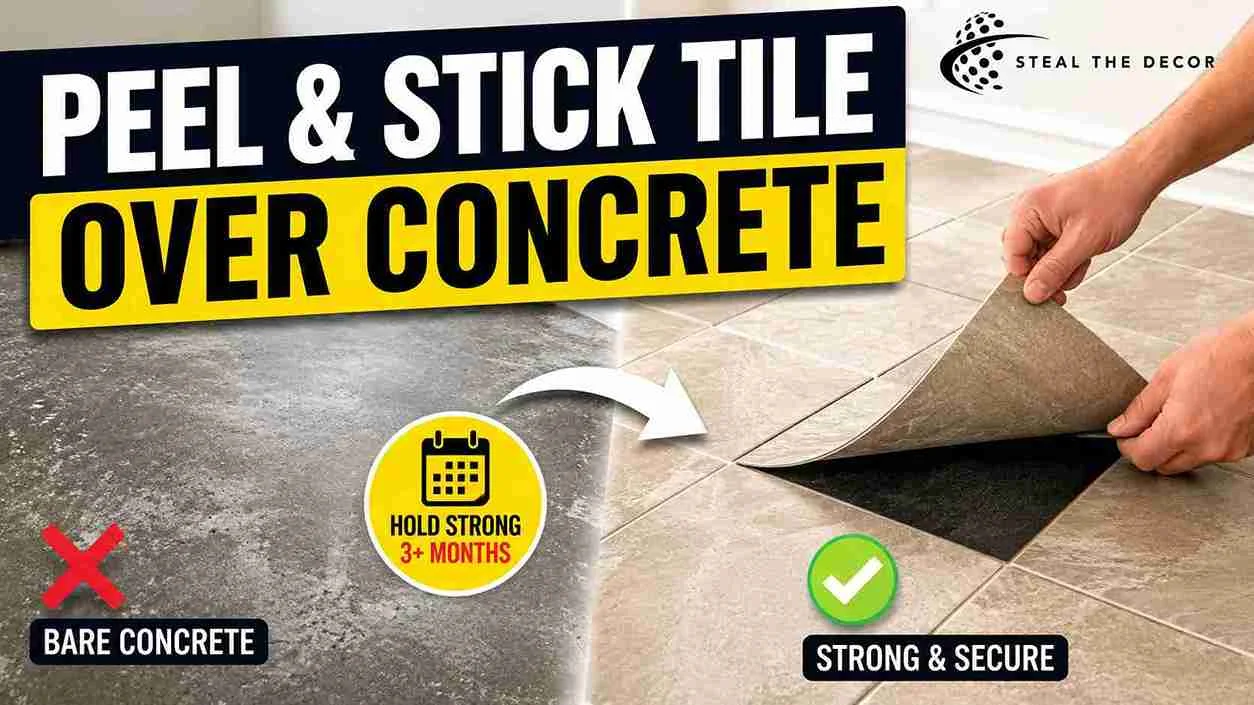
Dust rose in a fine gray cloud every time I dragged a box across the floor of my basement apartment. That’s what bare concrete does—it never really stops shedding. When I decided to try peel-and-stick floor tile over concrete in that unit, I figured I’d clean the slab, peel the backing, and press the tile down.
I was wrong. Cost me a $22 box of tile to find that out.
I live in a converted basement rental with a poured concrete subfloor—no plywood, no underlayment, just the slab. Over three weekends, I tested two different prep methods, one primer, and three tile brands to figure out what actually holds on concrete long-term versus what looks fine for a month and then curls at the edges. My goal was simple: a floor that survives a full lease term and comes up clean at move-out, the same promise behind my full guide on how to decorate a rental without damage. Here’s the exact process—including what failed the first time and what I’d do differently.
Quick Answer: Peel and stick floor tile can go over concrete, but only after the slab is cleaned, patched, moisture-tested, and sealed with a latex floor primer. Bare, porous concrete releases fine dust and, in basements especially, moisture vapor — both of which break the adhesive bond and cause tiles to lift within weeks. With the right prep, peel-and-stick tile can last a full year or more on a concrete subfloor.
Can You Put Peel-and-Stick Tile Directly on Bare Concrete?
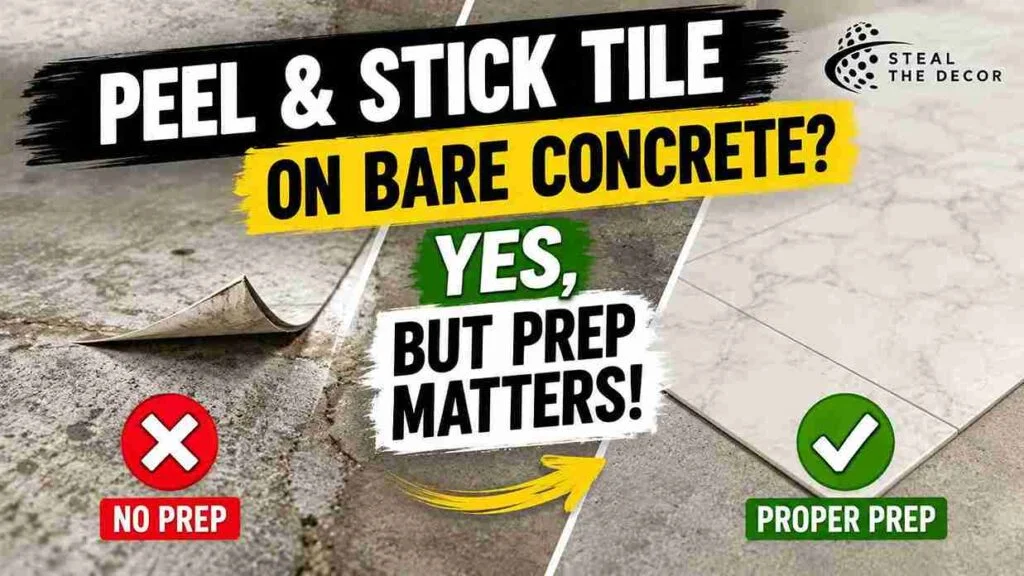
Technically, yes. In my experience, it’s also the single most common way to guarantee failure. Porous concrete looks smooth to the eye but is actually full of microscopic pits that hold dust, and every self-adhesive tile—including tile made for concrete subfloor use—needs a clean, sealed, non-porous surface to bond to.
I learned this the hard way with a box of clearance tile I pressed straight onto unsealed concrete in my entryway. Three of the twelve tiles had curled corners within ten days. Three. Out of twelve. The same tile, laid over the same concrete after a proper prep routine (below), is still flat a year later. That’s the difference prep makes—it’s not the tile brand; it’s the surface underneath it. If you’re deciding between tile types for a similar space, my comparison of peel-and-stick tile over linoleum is a useful side-by-side for a different subfloor situation.
Bottom line: bare concrete and peel-and-stick tile can coexist, but never without a barrier between them.
Why Peel-and-Stick Tile Fails on Concrete (The Dust & Porosity Problem)
Most guides tell you to “sweep the floor and stick the tile.” That advice skips the actual failure mechanism—and honestly, it’s the reason I wasted a whole box of tile on my first attempt.
Unsealed concrete constantly sheds a fine layer of dust. You can sweep it clean, walk away for ten minutes, and it’s already back. When adhesive meets that dust layer instead of the concrete itself, it bonds to the dust, not the slab—and the whole tile lifts the first time it’s stressed by foot traffic or a temperature swing.
There’s a second issue specific to below-grade rentals: moisture vapor emissions rate (MVER). Basements and ground-floor units sit closer to soil moisture, and concrete can wick that moisture upward even when the surface feels bone dry. According to flooring-industry testing standards compiled by Wagner Meters’ guide to concrete moisture testing, excess moisture trapped under flooring is one of the leading causes of adhesive breakdown and bubbling. That tracked exactly with what I saw in my own unit.
Works if the slab is clean, primed, and confirmed dry. Fails when you skip primer, skip the moisture check, or install in a cold, unconditioned room.
Bottom line: it’s never really the tile that fails—it’s what’s (or isn’t) between the tile and the concrete.
Tools and Materials You Need for a Concrete Installation
Before you touch a single tile, gather everything up front. I made three separate hardware store runs the first time because I underestimated the prep list—don’t be me.
Tools:
- Notch trowel (around $6–$10) for spreading primer evenly
- Heavy-duty weighted roller, ideally close to 100 lbs, for pressing tiles flat (rentable at most hardware stores for $15–$25/day)
- Shop vac for pulling dust out of pits and cracks before priming
- Carpenter’s square and chalk line for a straight grid layout
- Utility knife with fresh blades for clean edge cuts
Subfloor prep products:
- Latex floor primer (around $25–$40 per gallon, covers roughly 300–400 sq ft)
- Concrete patcher for cracks and low spots (around $12–$18)
- Degreaser for any old adhesive, oil, or sealant residue
If you’re tiling a small entryway or hallway rather than a full room, my guide to temporary flooring for rentals covers a no-adhesive alternative worth comparing before you commit to a permanent-feeling install.
Bottom line: budget an extra $40–$60 beyond the tile itself for prep products—skipping them is what causes the failures above.
How to Prep a Concrete Floor Before Tiling (The Step Most Guides Skip)
And this is the section that actually matters most. If you only read one part of this guide, make it this one.
Step 1: Deep clean and degrease. Sweep, then shop-vac the entire slab, paying extra attention to corners and control joints where dust collects. If the concrete has any oil stains or old adhesive residue, treat those spots with a degreaser and let the floor dry fully—a wet slab traps moisture right where you’re about to seal it.
Step 2: Patch cracks and level uneven joints. Apply concrete patcher to any crack wider than a hairline and to low spots where tile could flex and lift. Let it cure per the product label—usually 24 hours—before moving to the next step. Uneven joints are also why bathroom-adjacent concrete needs extra attention; if you’re working near a bathroom, my post on vinyl floor stickers in a rental bathroom covers the same leveling concern in a smaller footprint.
Step 3: Run a 24-hour moisture test. Tape a 2×2-foot sheet of plastic sheeting to the slab, sealed on all four edges, and leave it overnight. Condensation or dark spots under the plastic the next morning mean the slab is still releasing moisture and isn’t ready—you’ll need a moisture-blocking primer or more drying time before tile goes down. This simple test is a scaled-down version of the professional relative-humidity testing described in the Wagner Meters guide above, and honestly, it’s the one step that would’ve saved my first attempt if I’d bothered to run it.
Step 4: Apply latex floor primer. Roll on a latex floor primer with the notch trowel or a paint roller, covering the entire tile area evenly. This is the step that seals in the dust and gives the adhesive backing something stable to grip. Let it cure fully—most primers need 2–4 hours minimum, but check your specific product’s label.
Bottom line: the tile is the easy part—the four steps above are what actually determine whether it stays down.
Step-by-Step: How to Lay Peel-and-Stick Tile on Concrete
Sweep, then shop-vac the entire slab, paying extra attention to corners and control joints. Treat oil stains or old adhesive with degreaser. Let dry fully.
My $22 Mistake: How to Install Peel and Stick Floor Tile Over Concrete So It Never Lifts
A renter-tested 4-step prep method to install peel and stick floor tile over concrete that won’t curl or lift. Under $150.
Estimated Cost: 100 USD
Supply:
- Peel and stick vinyl floor tile
- Latex floor primer
- Concrete patcher
- Degreaser
- Plastic sheeting
Tools:
- Notch trowel
- Heavy-duty floor roller (100 lb)
- Shop vac
- Carpenter's square and chalk line
- Utility knife with fresh blades
Step 1: Acclimate the tiles. Leave unopened tile boxes in the room where they’ll be installed for at least 48 hours, ideally between 65°F and 85°F. Cold tile flexes differently than room-temperature tile, and installing it cold is a common cause of gaps forming later as it warms and contracts.
Step 2: Find the center point and snap chalk lines. Measure the room’s midpoints on opposite walls, connect them with a chalk line, and repeat perpendicular to create a center cross. Starting from the center — not a corner — keeps your pattern symmetrical even if the room isn’t perfectly square, a trick I picked up after a lopsided attempt at a rug layout over carpet taught me the same lesson in a different context.
Step 3: Lay the center tile and work outward. Peel the backing, align the tile to your chalk lines, and press from the center of the tile outward to avoid trapping air bubbles. Continue in a staggered pattern, working outward in quadrants from your center point.
Step 4: Cut edge tiles for corners and door jambs. Use a paper or cardboard template to trace tricky corners before cutting the actual tile. Slower, yes. But it beats wasting a $2–$3 tile on a bad cut. Leave a small expansion gap (about 1/8 inch) at the perimeter to allow for natural movement.
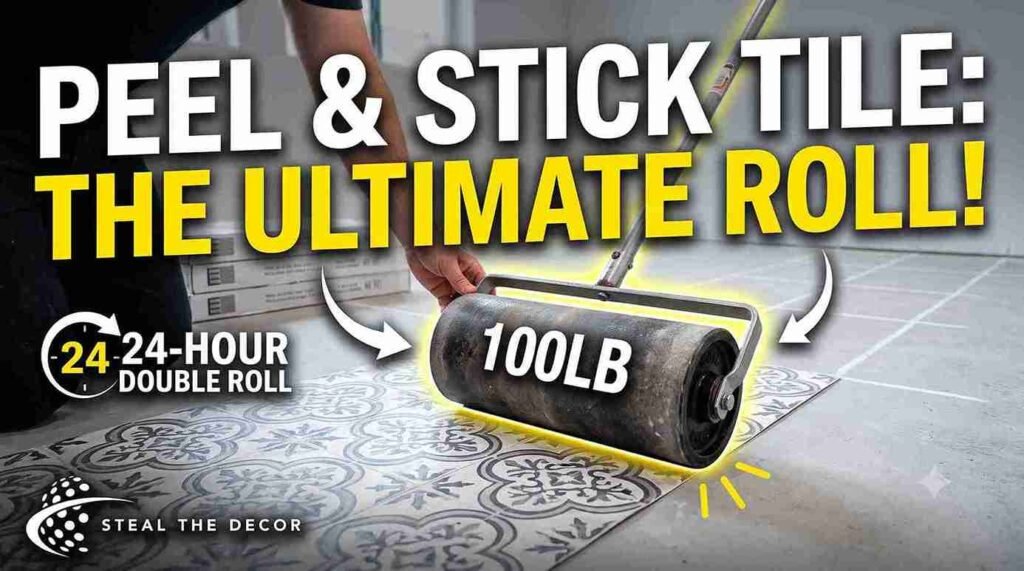
Step 5: Roll the entire floor. Go over the full installation with your weighted roller, then roll it again 24 hours later once the adhesive has started to set. This second pass is the step most people skip—it’s also the one that made the biggest visible difference in my own test.
Bottom line: acclimation and a second roll 24 hours later matter as much as the layout itself.
Common Mistakes Renters Make Installing Tile Over Concrete
Skipping the primer to save money. This is the mistake I made on my first attempt, and it’s the one I hear about most from other renters. A gallon of primer costs less than one box of replacement tile. It’s not optional on bare concrete.
Installing in a cold room. If your basement or garage-adjacent space runs below 65°F, both the adhesive and the tile behave unpredictably. Bring the space up to temperature with a space heater for a few hours before you start.
Ignoring the moisture test because the floor “feels dry.” Concrete can feel completely dry to the touch and still be releasing enough vapor to break down adhesive over a few months. The plastic sheet test takes one day and costs nothing.
Rushing the patch-and-cure time. Tiling over a concrete patcher before it’s fully cured traps moisture under the tile in exactly the spot you were trying to fix.
Not accounting for expansion gaps. Butting tiles tight against the wall with zero gap leads to buckling as the floor naturally expands and contracts with temperature changes.
Bottom line: almost every “the tile just didn’t stick” story traces back to one of these five shortcuts.
Renter-Safe Products We Actually Recommend for Concrete Floors
I tested products across three categories—tile, primer, and rolling tools—and these are the ones that held up in my own basement install.
- FloorPops peel-and-stick vinyl tile (typically $28–$45 per box, covering roughly 10 sq ft) — a consistently thick backing that held its edges well after priming.
- Achim Home Furnishings self-adhesive vinyl tile (typically $18–$30 per box) — a budget-friendly option that performed well once the concrete was properly sealed, though thinner than FloorPops.
- Roberts acrylic floor primer (typically $25–$38 per gallon) — the primer I used for my own install; easy to roll on and cured within the label’s stated window.
- DRYLOK concrete sealer by UGL (typically $30–$45 per gallon) — worth considering as an extra moisture barrier if your plastic-sheet test shows any condensation.
- Goo Gone adhesive remover (typically $6–$10) — useful for cleaning up any old adhesive residue during the degreasing step.
| Product / Method | Price Range | Ease of Use (1–5) | Damage Risk | Best For | Our Rating |
|---|---|---|---|---|---|
| FloorPops Peel and Stick Tile | $28–$45 | ⭐⭐⭐⭐ | ✅ None (with primer) | Living rooms, entryways | 4.5/5 |
| Achim Self-Adhesive Vinyl Tile | $18–$30 | ⭐⭐⭐⭐ | ✅ None (with primer) | Budget basement installs | 4/5 |
| Roberts Acrylic Floor Primer | $25–$38/gal | ⭐⭐⭐⭐⭐ | ✅ None | Sealing bare concrete before tiling | 5/5 |
| DRYLOK Concrete Sealer | $30–$45/gal | ⭐⭐⭐ | ✅ None | Extra moisture barrier in basements | 4/5 |
| Goo Gone Adhesive Remover | $6–$10 | ⭐⭐⭐⭐⭐ | ✅ None | Cleaning old adhesive before priming | 4.5/5 |
If your concrete floor sits in a bathroom or laundry area instead of a living space, my post on tile stickers for bathroom floor transformation covers the added waterproofing considerations, and the waterproof peel and stick tiles for showers guide is worth a read if moisture exposure is constant rather than occasional.
Bottom line: the primer matters more than the tile brand — spend your budget there first.
💡 Pro Tips for Renters:
- Buy 10% extra tile. Cuts around corners and doorways waste more than you’d expect, and dye lots can vary between boxes if you have to reorder later.
- Test the moisture even if the room “feels dry.” I skipped this the first time because the basement seemed fine. It wasn’t.
- Roll the floor twice—once right after installation and again 24 hours later once the adhesive has started to set.
- Keep your leftover tiles. Store 3–5 extra tiles in a closet so you can swap out a damaged one without ordering a whole new box at move-out.
- Photograph the bare concrete before you start. It documents the original condition in case your landlord questions the floor later.
What to Check With Your Landlord Before You Tile a Concrete Floor
Concrete slabs are common in basements, garage conversions, and ground-floor units—exactly the kind of space where a flooring clause might exist even if the rest of your lease doesn’t mention flooring at all.
- Confirm your lease doesn’t explicitly prohibit adhesive flooring products
- Ask whether the basement or garage area is even covered under your standard lease terms
- Document existing floor condition with dated photos before you start
- Clarify whether removal is required at move-out or if the tile can stay
- Check if your security deposit terms mention flooring changes specifically
- Get any verbal approval in writing, even a text message, before you install
For a deeper look at how security deposits get evaluated at move-out, Nolo’s security deposit guide is a solid state-by-state starting point. And if flooring is just one part of a bigger rental refresh, my full guide on decorating a rental without damage covers the same lease-check habit across every room.
Bottom line: a two-minute lease check now is cheaper than a deposit dispute later.
Real Results: What I Got for Under $150
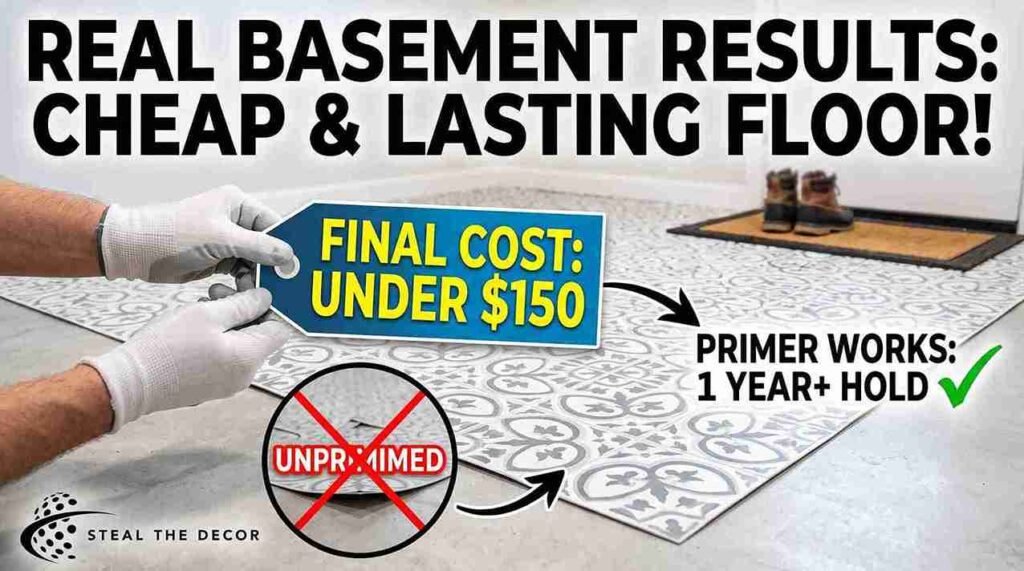
Total spend on my basement install: $142.61. That broke down to $58 for two boxes of Achim tile, $31 for Roberts primer, $18 for concrete patcher, $12 for a roller rental, $9 for a degreaser, and the rest in odds and ends like a chalk line and extra utility blades.
Not gonna lie — I was skeptical this would actually work when I started. My first, unprimed attempt in the entryway proved the skepticism right at first. It started lifting within ten days and had to be pulled up entirely.
But the four-step prep routine, once I actually followed it, kept the tile flat through a full winter—including the basement’s noticeable temperature swings. Once I redid that entryway spot with primer, it held for over a year. Still holding, actually.
I also learned that a rug over the tile near the entry door helped protect the edges from the most foot traffic—the same principle covered in my guide to keeping a rug from bunching, adapted here for a hard floor instead of carpet. When the tile needed a deep clean months later, the process was almost identical to what I outline in how to clean a vintage rug—gentle, no harsh solvents, and dry quickly.
Bottom line: for under $150 and three weekends, a properly prepped concrete floor can outlast a full lease term.
🔑 Key Takeaways
- Peel-and-stick floor tile can be installed over concrete, but bare, unsealed concrete causes adhesive failure due to dust and porosity within weeks of installation.
- A latex or acrylic floor primer, such as Roberts acrylic floor primer, is the single most important step for a lasting bond on a concrete subfloor.
- A simple 24-hour plastic sheet test can reveal whether a concrete slab is releasing enough moisture to interfere with tile adhesive, especially in basements and ground-floor units.
- Acclimating tile to room temperature for 48 hours between 65°F and 85°F prevents gaps caused by thermal expansion after installation.
- Rolling the installed floor twice — once immediately and again 24 hours later — noticeably improves how flat and secure the tile stays over time.
- A full concrete tile installation, including primer, patching compound, and tile, typically costs $100–$180 for an average-sized room.
- Leaving a small expansion gap of about 1/8 inch at the room’s perimeter prevents buckling as the concrete naturally expands and contracts.
Conclusion
Peel-and-stick tile over concrete isn’t complicated. It is unforgiving of shortcuts, though — the prep work in the middle of this guide is genuinely the difference between a floor that lasts a lease term and one that curls up within a month. If you take away one thing, let it be this: prime the slab, test for moisture, and don’t rush the cure times, even when you’re eager to see the finished floor.
And if you’re in a below-grade rental wondering whether any of this is worth the effort—I get it. I wondered the same thing kneeling on that cold basement slab. It was worth it.
Have you tried tiling over concrete in your rental? Tell me what happened below—I read every comment, and I’m always curious what other basements and garage conversions throw at people. If you’re tackling more of the space at once, my guide to rental-friendly accent wall ideas pairs well with a new floor for a full room refresh. Every product mentioned above is one I actually bought and tested myself.
Keep Exploring: More Renter-Tested Guides
- Peel-and-stick wallpaper for renters — the wall-side companion to this flooring project
- Faux brick wall for renters — another damage-free surface transformation
- Removable boho mural—for a statement wall once your floor is done
- Rental-friendly wall paneling — pairs well with a new tile floor
- How to hide ugly wall vents — a common basement annoyance
- Large-scale wall art for apartments — finish the room once the floor is in
- Hanging plants from the ceiling without drilling—soften a new tile floor with greenery
- Washi tape faux wall frames — a low-cost wall project for the same room
- Removable wall decals for a minimalist look — another no-drill wall option
- How to hang a gallery wall without nails — round out the space above your new floor
- Rental kitchen makeover on a budget — if your concrete slab runs into an adjacent kitchen
- Organizing a tiny rental pantry—for basement units doubling as storage space
- Damage-free bathroom storage — if your concrete floor is in a basement bathroom
- Best showerheads for apartments — another basement-bathroom upgrade
- Peel-and-stick wood planks — an alternative look for the same concrete subfloor
FAQ: Peel-and-Stick Floor Tile Over Concrete
Can you put peel-and-stick tile on concrete?
Yes, but only after the concrete is cleaned, patched, moisture-tested, and sealed with a latex primer. Installing directly on bare, unsealed concrete is the most common reason peel-and-stick tile lifts within weeks of installation.
Do you need primer on concrete before peel-and-stick tile?
Yes. Primer seals the dust that bare concrete constantly sheds, giving the tile’s adhesive backing a stable, non-porous surface to bond to. Skipping it is the single most common cause of tile failure on concrete.
How do you test concrete for moisture before tiling?
Tape a 2×2-foot sheet of plastic to the slab, sealing all four edges, and leave it for 24 hours. Condensation or dark spots underneath indicate the slab is still releasing moisture and needs more drying time or a moisture-blocking sealer.
Does peel and stick tile damage a concrete floor?
Properly installed peel-and-stick tile is considered a damage-free, reversible flooring option and shouldn’t harm the underlying concrete. Some primers can leave a thin residue if peeled up carelessly, so removing tile slowly and cleaning residue with a degreaser is recommended.
How much does it cost to install peel-and-stick tile over concrete?
Expect to spend $100–$180 for an average-sized room, including tile, primer, patching compound, and a roller rental. My own basement install came in at $142.61 total.
What’s the best primer for peel-and-stick tile on concrete?
A latex or acrylic floor primer designed for resilient flooring works well—in my testing, Roberts acrylic floor primer applied evenly and cured within its labeled window with no issues.
What do you do if peel-and-stick tile starts lifting on concrete?
Pull up the affected tile, check the concrete underneath for dust or moisture, re-prime that spot if needed, and reinstall once the primer has cured. Keeping a few extra tiles on hand makes this a same-day fix rather than a full retile.